STEP 9: Link States Together
Now that the sliding action is ready, it is not connected to any other state, so you cannot transition to this state. Therefore, let’s create a link from [Move] to [Sliding].
-
Right-click the [Move] state and select “Add Link”.
-
A line will appear; drag it to the [Sliding] state you created earlier and left-click. The line should now connect [Move] to [Sliding].
-
Next, set the transition condition. Click the link you created and check the Inspector window. Enable the “On Input” property. A new field will appear; click “Array[InputCondition]” to expand it, then press the [+ Add Input] button.
-
A field labeled “” will appear. Click it and select “New InputCondition”.
-
The “” field will change to “InputCondition”. Click it again to expand. Input key settings will appear; configure them as shown below. Now, while in the [Move] state, pressing the B button (X key on the keyboard) will immediately transition to [Sliding].
-
Now you can slide, but there is no link to transition from [Sliding] to another state. Without one, the character will slide forever. Therefore, let’s create a link from [Sliding] to [Idle]. As before, right-click the [Sliding] state and create a link.
-
Connect it directly to the [Idle] state on the right.
By the way, have you noticed that there are two [Idle] states with the same name on the left and right? Actually, these two are the same; the [Idle] on the right is a shortcut. Shortcut states have an  mark in the top-left corner of their name.

Visual Script links must always go from left to right, so shortcuts are useful when returning to earlier states. This helps prevent your links from becoming a tangled mess like spaghetti.
-
Now, let’s use a condition other than input. Select and expand “Array[Conditions]” under “Other Conditions”, then click [+ Add Condition].
-
The “Add Condition” window will open. Select the “Time Elapsed” condition and set the value to 0.3 seconds. This condition is located near the bottom, but you can also find it by typing in the search bar at the top. Press the Add button to complete the setup.
-
Now, test the play by pressing  or the F5 key. If configured correctly, pressing the X key while moving should trigger a slide, and after 0.3 seconds, it should return to the idle animation. (Note: If the movement key is still held down, it will immediately transition back to moving.)
If it doesn’t work, please check the following:
- No links are connected from [Idle] or [Jump], so transitions won’t occur. Press the key while moving.
- If pressing the key doesn’t trigger a transition, check the link from [Move] to [Sliding].
- If the link is correct but nothing happens, check if an animation or execution action is set in the [Sliding] settings.
- If you cannot return from sliding, check the link from [Sliding] to [Idle].
If it works correctly, you’re done. You have now created a complete script.
You may customize the dash speed or transition time to your liking, or add sound effects or voice lines to the dash using the “Play Sound” action under “Other Execution Actions”.
You could also connect a link from Idle to enable sliding from a stationary position.
You could connect from Jump or Fall to enable mid-air sliding. (In that case, link back to Landing instead of Idle, otherwise you won’t be able to land.)
This concludes the tutorial. To exit the Script screen, switch the top tab to [2D].
Action creation is a combination of transitions and conditions. Depending on how you combine them, you can achieve various results, so looking at the scripts of other sample objects might be educational.
There is one important note:
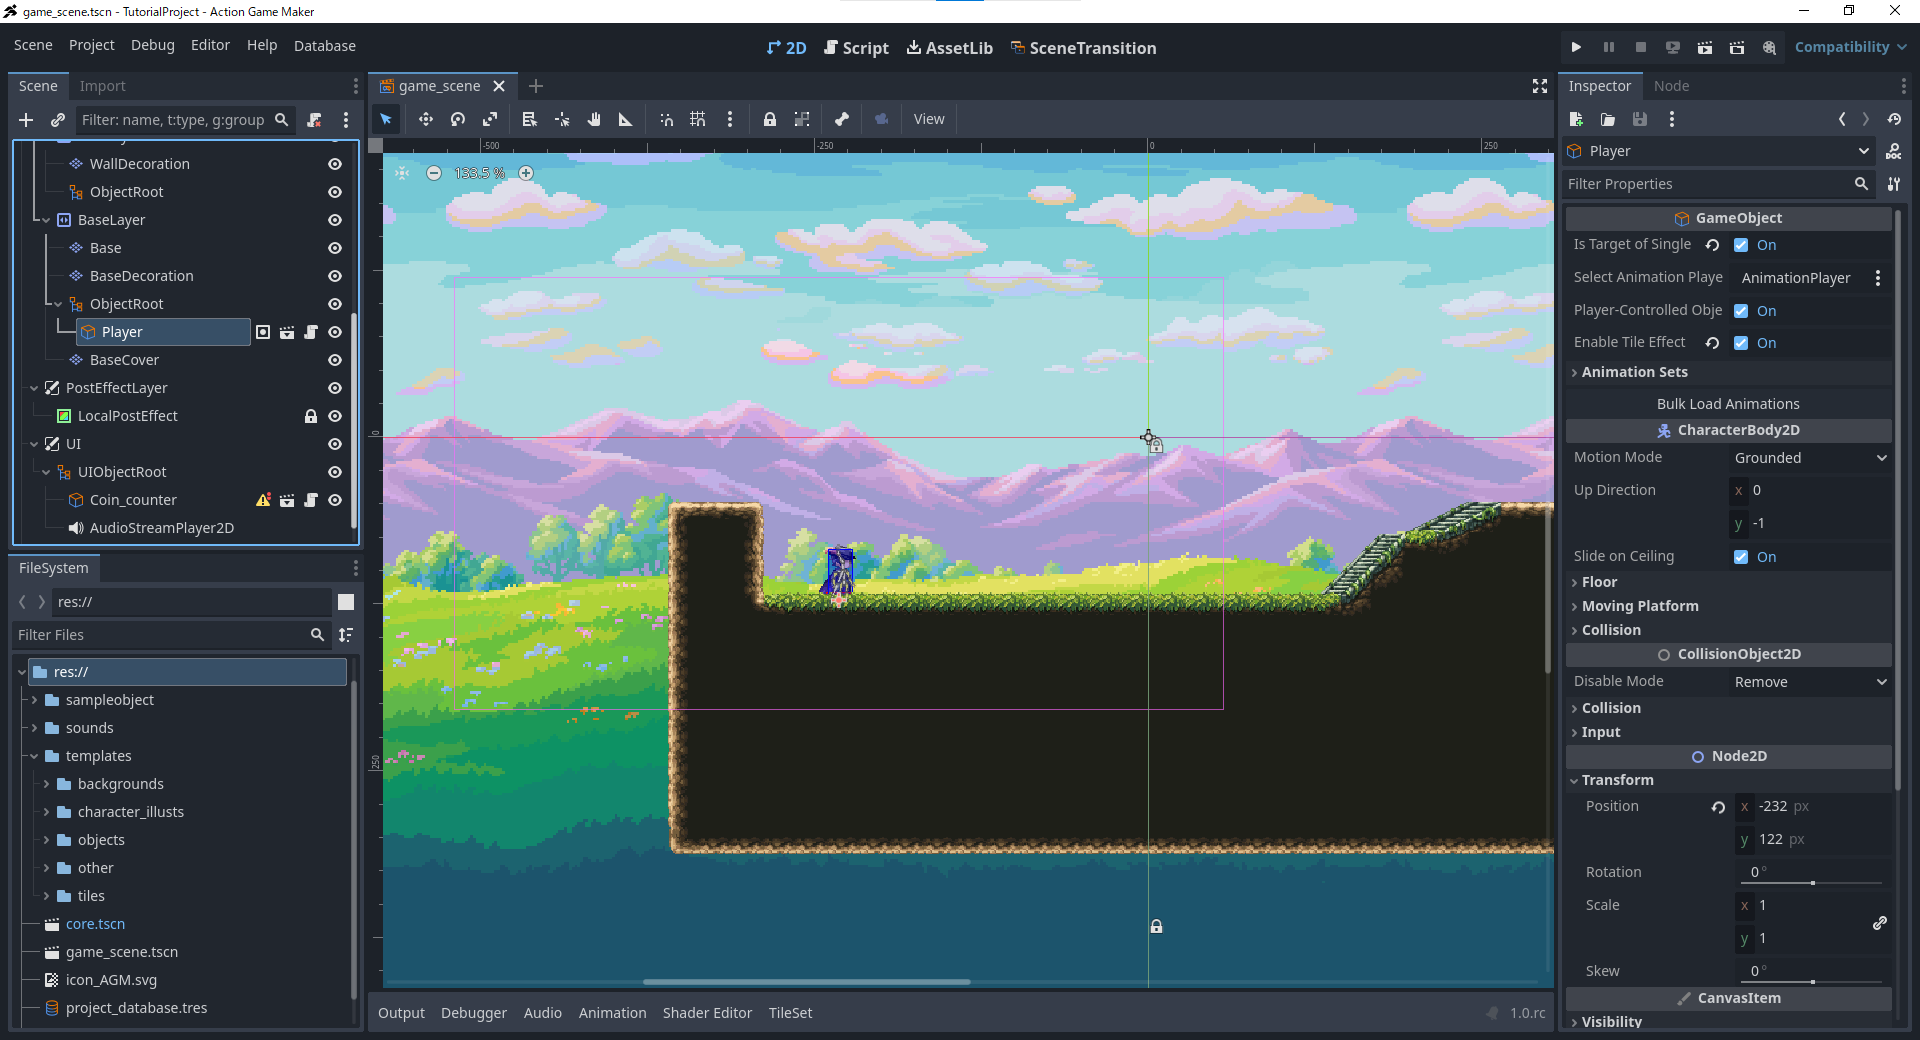
When opening a Visual Script, always ensure you have selected the tab of the object that holds that Visual Script.
As a Godot feature, you can open the Script screen regardless of which tab is active. However, since Visual Script animation settings and variable settings read information from the currently open tab, some settings may become unavailable if the wrong tab is selected.





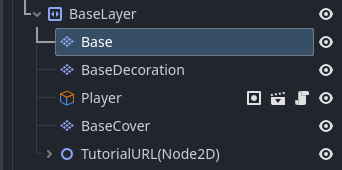


 icon [Connect Mode] selected?
 Paint tool selected at the top?
 Selection Tool active? Make sure it’s not set to Move Tool or another tool.


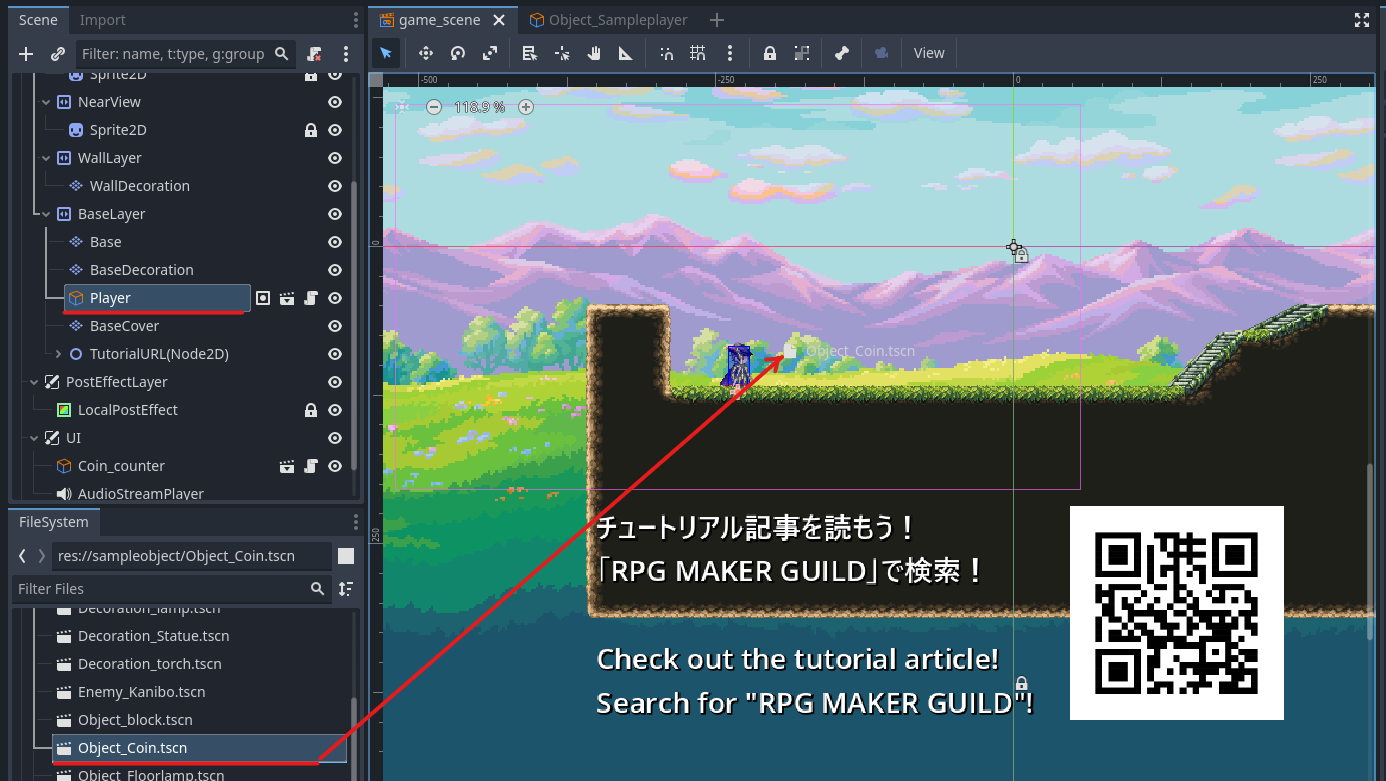
 .
.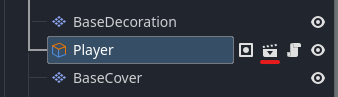


 icon located to the right of “Player” in the top-left corner of the screen.


