Manual: How to Use Visual Scripting

This manual explains how to operate the Visual Scripting screen.

Visual Script Editor

Terminology

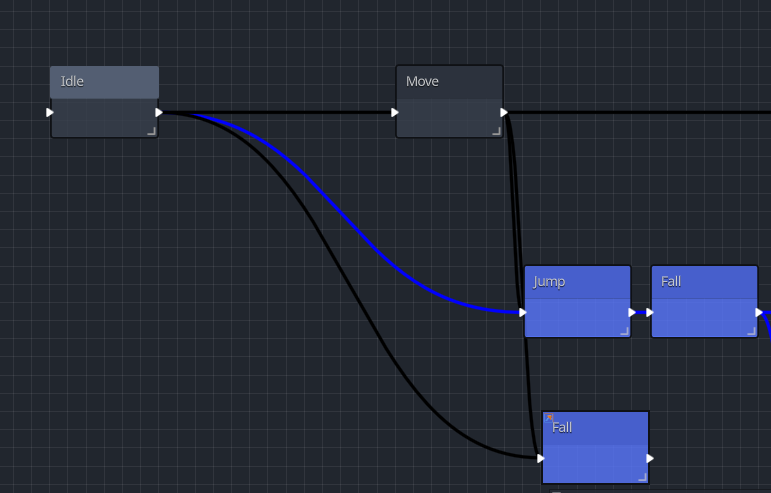
The square boxes are called states. A state represents the current state of an object. You can assign one animation to play per state and fill it with actions representing the movements you want to execute.

The connecting lines are called links. Links connect states and specify the conditions for transitioning to another state.
Customizing States/Links

States and links can be customized in the Inspector under VisualScriptNode, where you can change their color, title, and notes.

Types of States

  1. Initial State
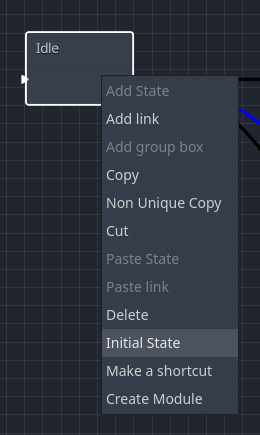
    The state that appears brighter than others is the initial state. When an object begins its behavior, it starts from this initial state.
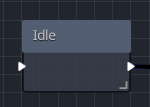
You can change the initial state via the right-click menu of a state.
  1. Shortcut State
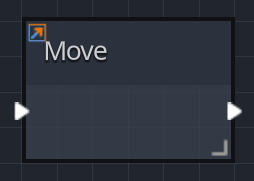
    States with the :up_right_arrow: icon are shortcut states. These are treated as identical to other states with the same name.
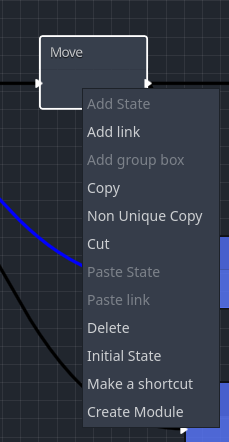
You can create a shortcut by selecting a state and choosing “Create Shortcut” from the right-click menu, or by pressing Ctrl+Shift+D while the state is selected.
  1. AnyState
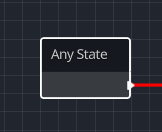
    As the name suggests, “AnyState” means “all states.” By connecting a link from this state, you can transition to it from any state, provided the condition is met. After transitioning, you can return to the previous state using the “Return to Previous Action” (Transfer To Action) action. This is equivalent to the “Common Action” in the previous version of RPG Maker MV.
Creating Group Boxes

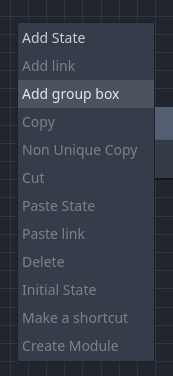
You can add a group box by right-clicking an empty area and selecting “Add Group Box.”
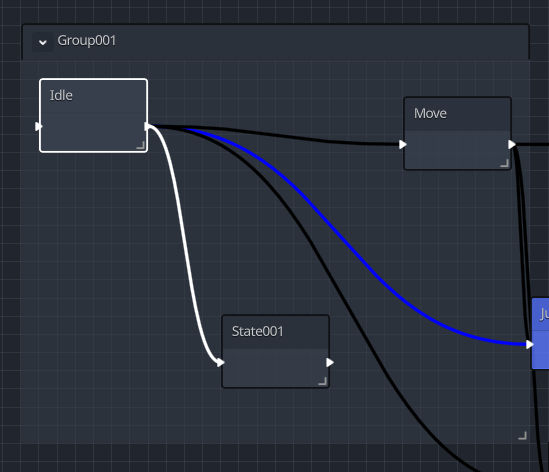
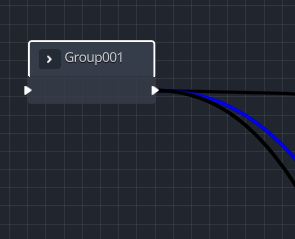
A group box functions like a folder, allowing you to group actions and links together, move them as a unit, or collapse them to keep the workspace tidy.
State Inspector

Animation Settings

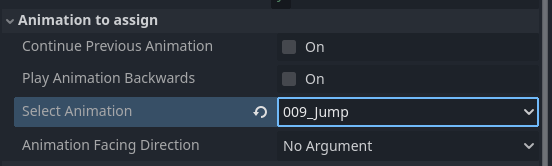
Here you can configure the animation to be played.


Continue Previous Animation: Inherits the animation from the previous state.
Play Animation Backwards: Plays the specified animation in reverse order.
Select Animation: Selects the animation to play for this state. Only animations pre-loaded in the GameObject node can be selected.
Animation Facing Direction: Specifies the direction of the animation. If not specified, it will face the current movement direction.

Action Settings

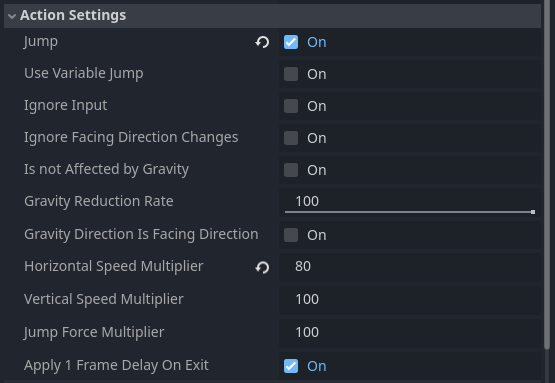
Configure basic behaviors.


Jump: Performs a jump. Jump force can be configured in MoveAndJumpSettings.
Use Variable Jump: Allows jump force to vary based on how long the button is held. The button for variable jumping must be pre-configured in MoveAndJumpSettings.
Ignore Input: Prevents movement during this state.
Is not Affect by Gravity: Ignores gravity by the specified percentage during this state. Inertia is also ignored only when set to 100%.
Gravity Direction Is Facing Direction: During this state, the gravity direction will be influenced by the facing direction. Typically, this results in playing the downward animation.
Speed Multiplier: During this state, movement speed is changed by the specified percentage.
Apply 1Frame Delay On Exit: One frame of time passes per state. This is a measure to prevent states from transitioning consecutively. However, turning this setting off prevents the delay. It is effective to turn this off for states that only perform calculations.

Executed Action Settings

No detailed explanations of individual action contents are provided here. Only common behaviors are explained.

Adding Actions

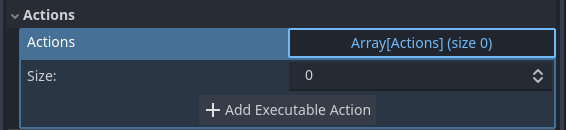
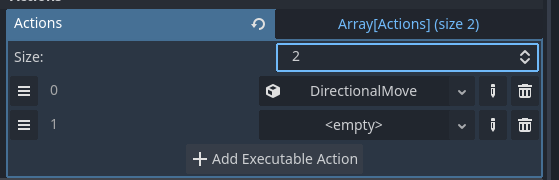
You can add actions by opening the array of executed actions and clicking the “Add Action” button.

Copying Actions

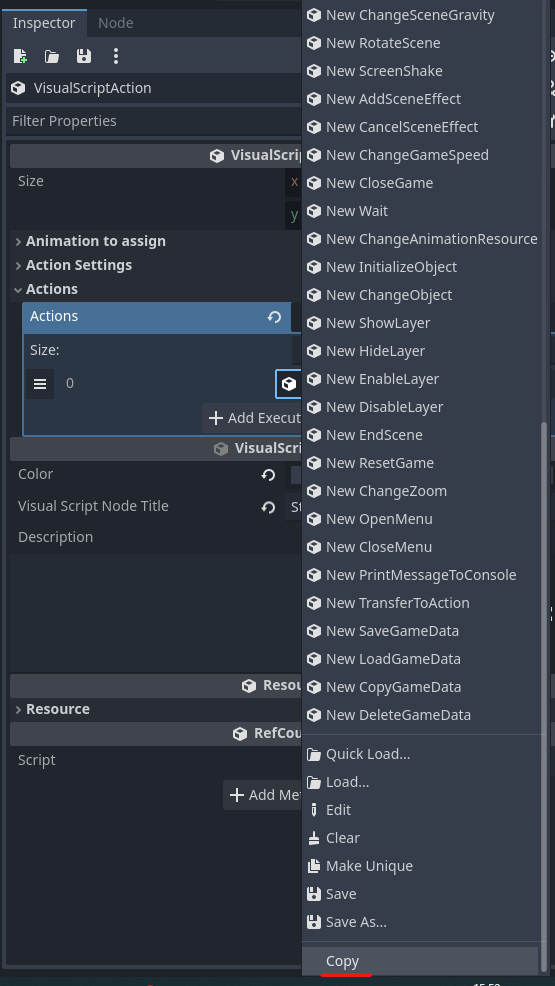
You can copy an added action by right-clicking it.
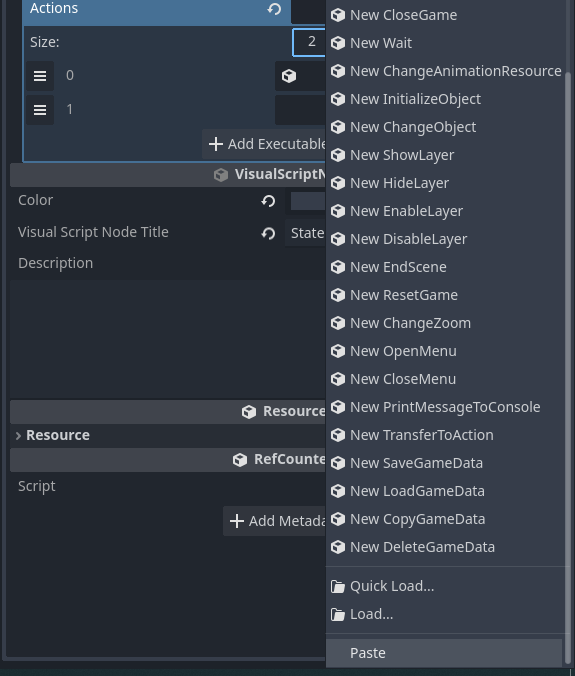
Note that the copy menu is located quite far down.

Pasting Actions

By increasing the value in the Size menu, you can add more <Empty> data.


Right-click the <Empty> data and select “Paste” from the menu to paste the copied action.

Uniquing Actions

Actions pasted using this method are pasted in a linked state called “Non-Unique”.
In this state, editing one action automatically reflects the changes in the other action as well.
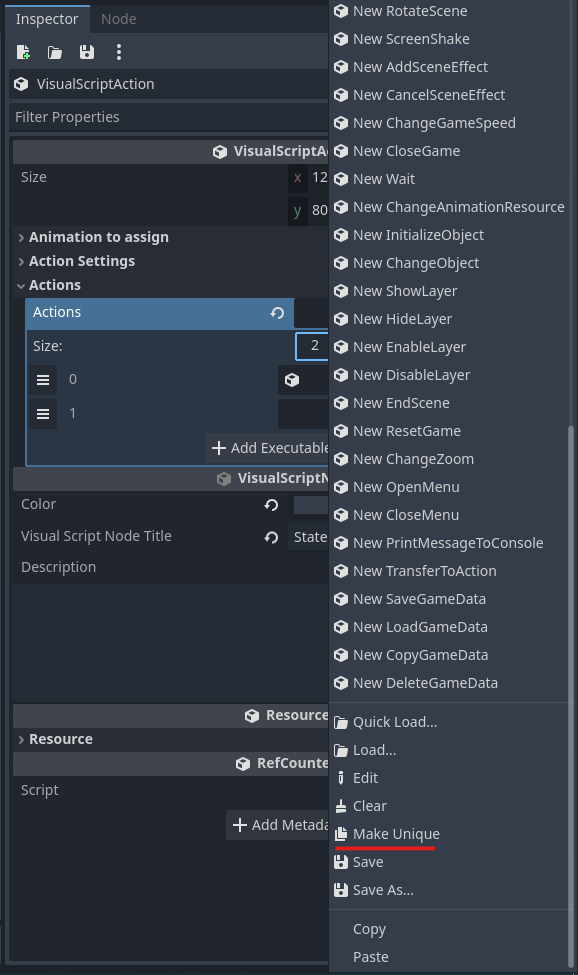
You can break the linked state by right-clicking one of the actions and selecting “Uniquify” from the menu.
As usual, be aware that this option is located quite far down.

Link Inspector

Priority

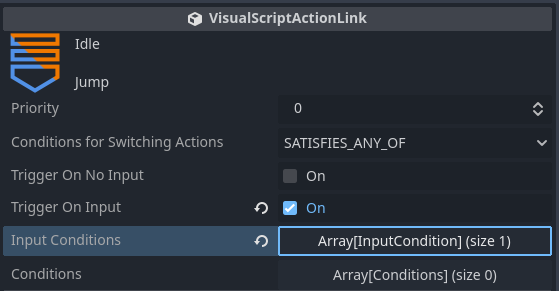
If multiple transition conditions are met simultaneously, the link with the higher value will activate.

Conditions for Switching Actions

SATISFY_ALL: Transitions only when both “Input Conditions” and “Other Conditions” are satisfied.
SATISFY_ANY_OF: Transitions when either “Input Conditions” or “Other Conditions” is satisfied.
FINISHED_ANIMATION: Automatically transitions once the animation of the previous state has finished playing.
UNCONDITIONAL: Transitions immediately after the execution action of the previous state is completed.

Trigger On No Input

Indicates a neutral input state.

Trigger On Input

Indicates a state where specific input has been received.
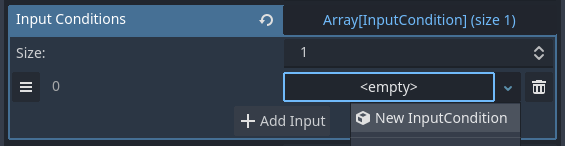
You can select an empty array and add inputs via “Add New Input Condition.”
Input actions configured in the project’s Input Map can be selected.


Registered Key: Specifies a single specific key. You can specify the timing as: on press, while holding, on release, or while not holding.
Four Any Input Key: Primarily used for movement-related conditions. Assign any key to each of the four directions. Note that keys set in MoveAndJumpSettings are used to specify the character’s movement direction, whereas this setting applies only to this transition condition and requires individual configuration.
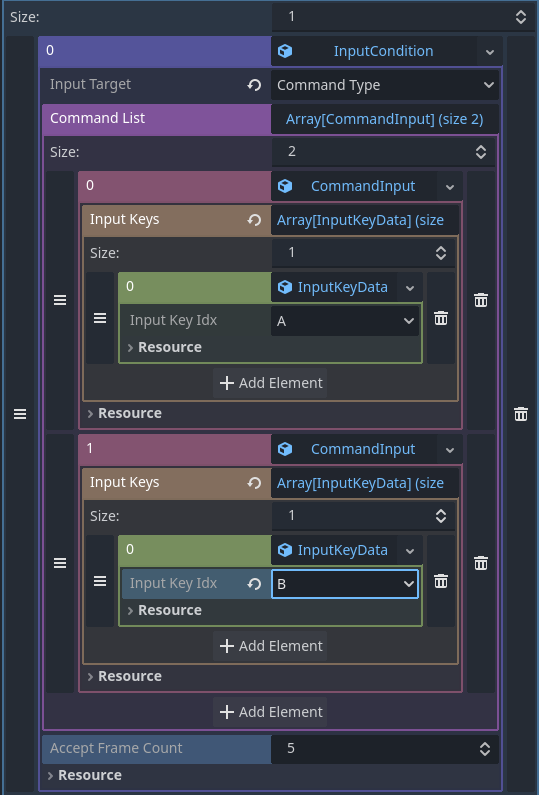
Command Type: Uses command inputs, similar to fighting games, as the transition condition. It is somewhat complex; the transition occurs when inputs are entered in the order of CommandInput0, then CommandInput1. Inputs must be entered within the AcceptFrameCount (Acceptance Frame Count). For example, in the image below, the condition is met by entering A → B within 5 frames.

Conditions

The methods for adding or copying/pasting conditions are the same as for execution actions.

Logical Condition with Previous Condition (AND/OR)

As the name implies, if set to AND, the condition is satisfied only when both the previous condition and this condition are met simultaneously. If set to OR, the condition is satisfied if either the previous condition or this condition is met.
This does not apply to the first condition.

Connecting Multiple Logical Conditions

Evaluation is based solely on the connection with the previous condition.
Therefore, if you create four conditions as:
A AND B OR C AND D
The resulting expression is evaluated as:
(((A AND B) OR C) AND D)
The condition is satisfied if A and B are met and D is also met simultaneously, or if C and D are met.

1 Like