D. Let’s Add a State for Firing Bullets.
Next, let’s add a state for firing bullets. Of course, we need two states: “Ground Fire” and “Moving Fire,” as well as “Air Fire,” but “Air Fire” will require some ingenuity.
From “Ground Fire” and “Moving Fire,” it’s fine to transition back to “Idle” or “Move,” respectively. However, if we transition “Air Fire” back to “Jump,” the character will jump again immediately, causing them to climb with every shot.
Therefore, we need an air state other than “Jump.” In this case, let’s split the “Jump” state into two: “Jump” and “Air.” The “Jump” state should transition immediately to “Air,” and while in “Air,” it should transition to “Idle” upon touching a tile.
By returning to “Air” from “Air Fire,” we should avoid any issues.
Let’s get started right away.
Let’s Create the “Ground Fire” and “Moving Fire” States
- Create a new state to the left of “Idle.”
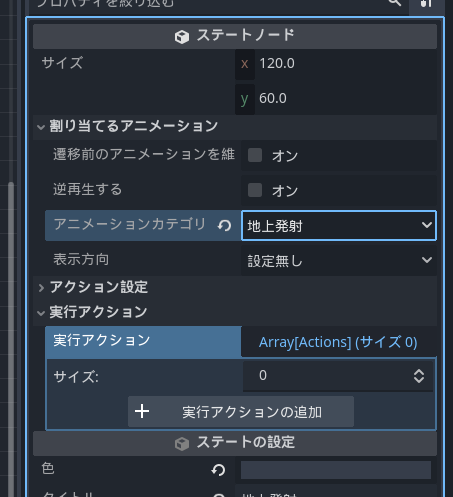
- Rename the created “State001” to “Ground Fire.”
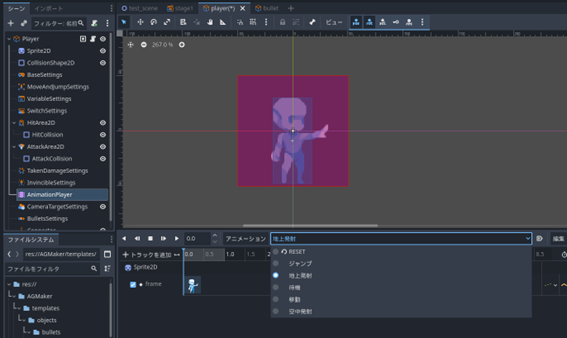
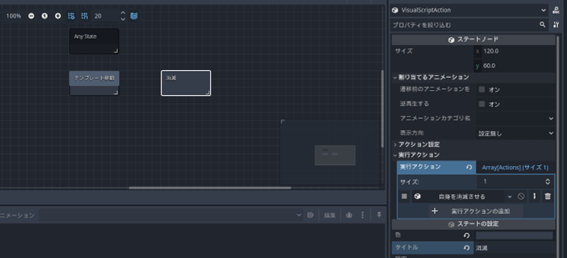
- Specify the “Ground Fire” animation set in the Animation Category Name.
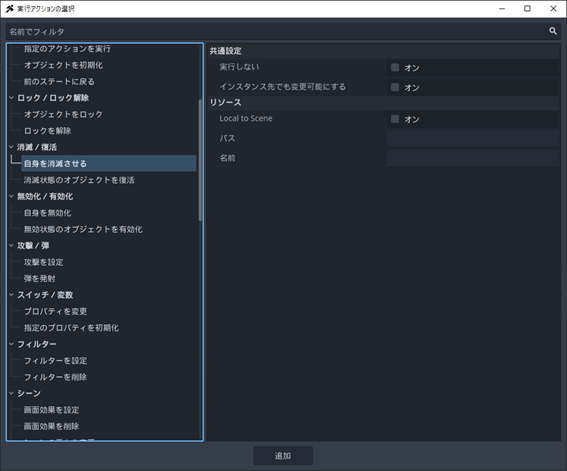
- Click “+ Add Execution Action.”
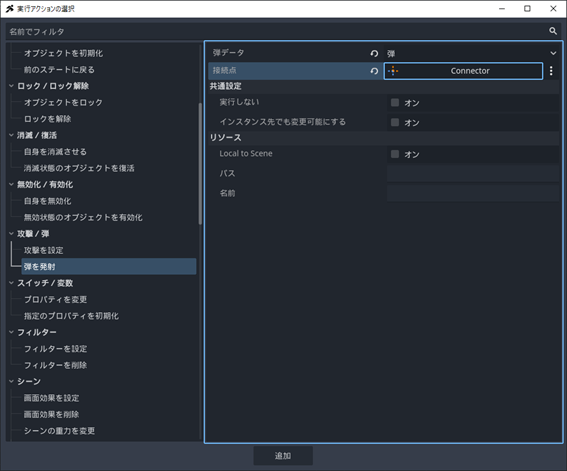
- Select “Fire Bullet” as the execution action.
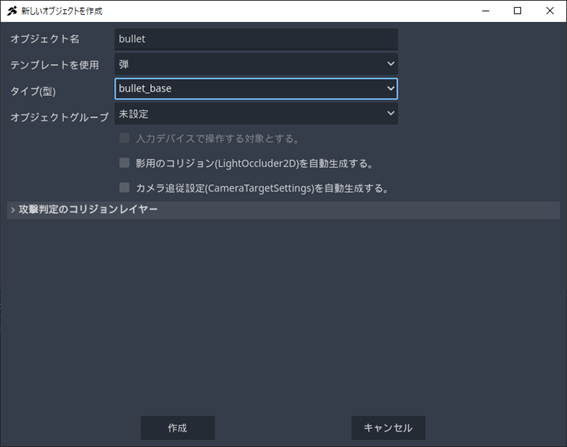
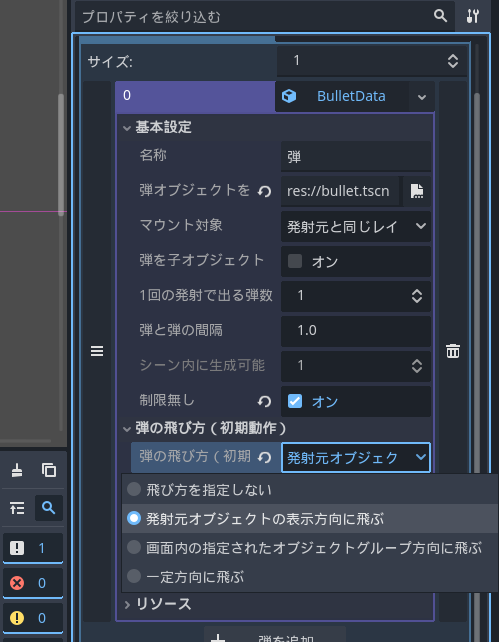
- Specify the “Bullet” created earlier in the Bullet Data.
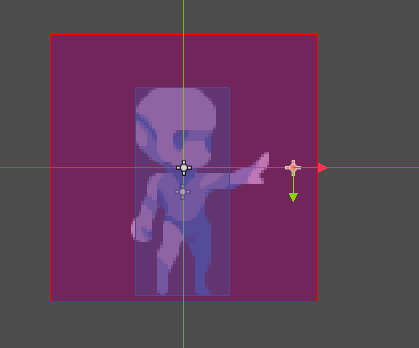
- Click the “Assign” button on the connector.
- The “Select Node” window will appear; specify the Connector created earlier.
- Once you confirm that the “Bullet” data connector “Connector” is correctly specified, click “Add.”
- Next is “Moving Fire.” Since “Moving Fire” is exactly the same state as “Ground Fire” except for the animation, let’s copy and reuse it. Right-click the “Ground Fire” state and select “Copy.”
- Right-click to the right of the “Move” state and select “Paste State.”
- A state named “Ground Fire (1)” will be created; rename it to “Moving Fire” in the Inspector.
- Enable the “Maintain Animation Before Transition” checkbox. Since the “Moving Fire” animation is identical to the source “Move” animation, there is no need to change it; this option can be used in such cases.
Connect “Idle” and “Ground Fire,” and “Move” and “Moving Fire” States
It seems the system will work if we transition from “Idle” and “Move” to “Ground Fire” and “Moving Fire” when the “Attack” button is pressed, and then return to “Idle” and “Move.” To prevent excessive rapid-fire, we can set it to return after “0.3 seconds,” which should provide a good balance.
- Right-click the “Idle” state to create a link and connect it to the “Ground Fire” state.
- In the properties, turn on the checkbox for “When the following input is received.”
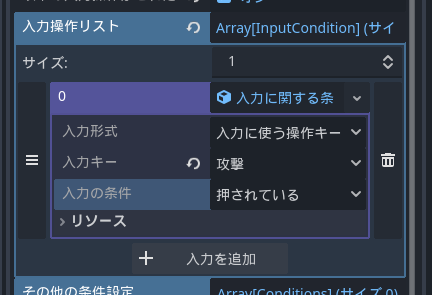
- Click on the right column of the Input Operation List, “Array[InputCondition…],” to expand it.
- Click “+ Add Input” to add an input field.
- Click “” to add a “New Input Condition.”
- Click “Input Condition” to expand it.
- Change the “Input Key” to “Attack.”
- Right-click the created link and select “Copy.”
- Right-click the “Move” state and select “Paste Link.”
- Connect the link to the “Moving Fire” state. Now the links from “Idle” and “Move” are ready; next are the return links.
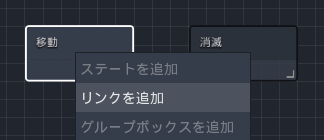
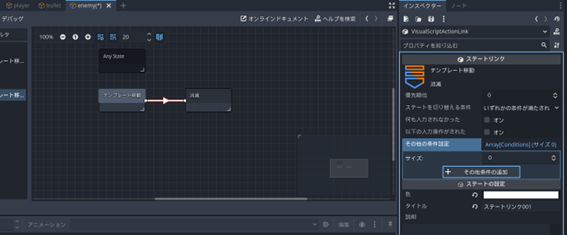
- Right-click the “Ground Fire” state, select “Add Link,” and connect it to the “Idle” state.
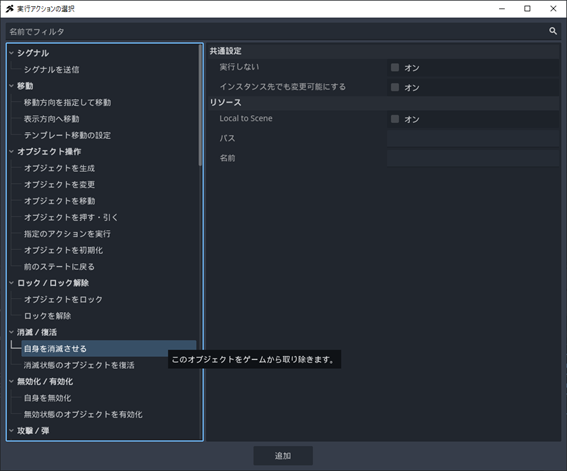
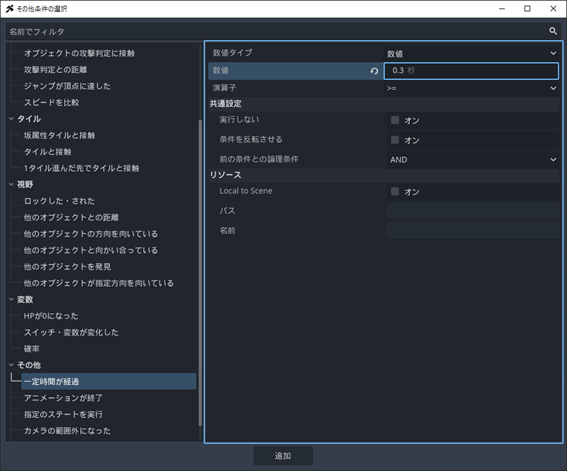
- In the Inspector, click the “+ Add Other Condition” button.
- Select the “Time Elapsed” condition in the Other section.
- Change the seconds value in the “Number” item from 1 second to 0.3 seconds.
- Once the addition is complete, right-click the link and select “Copy.”
- Right-click the “Moving Fire” state, select “Paste Link,” and connect it to “Move.” If it looks like the following, the ground firing state is complete.
Let’s Test if Bullets Can Be Fired Correctly on the Ground
We have completed three stages of setup: creating the “Bullet” object, configuring “BulletSettings,” and creating the “Ground Fire” and “Moving Fire” scripts. Now, finally, we can test bullet firing. Let’s try a test play.
- Click the “Run Project (F5)” button in the top right of the editor.
- If configured correctly, pressing the X key in the “Idle” or “Move” state should fire a bullet. However, since there were many settings, there might be omissions. Let’s recheck using the list below.
Checklist for when things don’t work well
Animation does not play: Review the settings for each firing state. If there are no issues, also check the AnimationPlayer animations.
Animation plays, but no bullet is fired: Review the settings for the “Fire Bullet” action.
Bullet is fired but doesn’t move or goes in a strange direction: Review “BulletSettings.”
Once you confirm there are no issues, close the test play using the close button.
Split the “Jump” State into “Jump” and “Air” States
Now, let’s split the “Jump” state.
- Add a “State” to the left of “Jump.”
- Rename “State001” to “Air.”
- Set the Animation Category Name to “Jump,” and the “Air” state is complete.
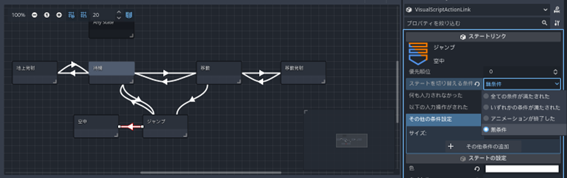
- Next, connect the links. Right-click the “Jump” state, select “Add Link,” and connect it to “Air.”
- In the Inspector, set the “Condition to Switch State” to “Unconditional.” “Unconditional” is a condition that switches states immediately without any conditions. Since the “Jump” action happens instantly and the “Jump” animation only switches frames, this condition works.
- Next, change the link returning from “Jump” to “Idle” to a link returning from “Air” to “Idle.” Select the link.
- Right-click and select “Cut.”
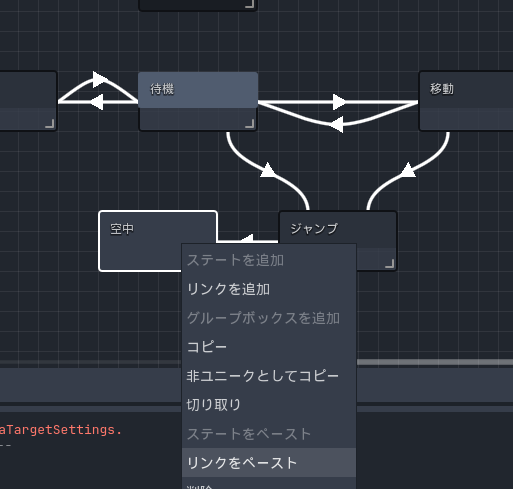
- Right-click the “Air” state and select “Paste Link.”
- Connect it to “Idle,” and it’s complete.
- Just in case, perform a test play to check if the flow from jumping to landing works correctly.
Create the “Air Fire” State and Connect it to “Air”
The “Air Fire” state and link conditions are the same as the ground firing ones created earlier, except for the animation, so let’s reuse them.
- Right-click the “Ground Fire” state and select “Copy.”
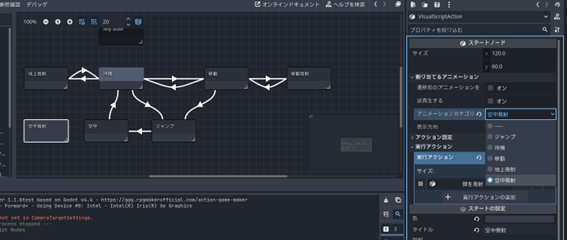
- Paste it to the left of “Air.”
- In the Inspector, rename “Ground Fire (1)” to “Air Fire.”
- Change the “Animation Category” to “Air Fire.”
- Copy the link from “Idle” to “Ground Fire.”
- Right-click “Air,” select “Paste Link,” and connect it to “Air Fire.”
- Copy the link from “Ground Fire” to “Idle.”
- Right-click “Air Fire,” select “Paste Link,” and connect it to “Air.”
- That completes it. Perform a test play again to check the operation. Success is achieved if pressing Z to jump and then pressing X while in the air fires the bullet correctly.