Setting Up Tiles
Now, let’s create platforms for our level.
We need a ground and some floating platforms that the player can jump onto.
There are many ways to create platforms using different nodes, but since we’re designing a large, varied level, we’ll use a node specifically designed for this purpose: Tile.
Tiles are like floor tiles—small images that can be repeated in a grid to construct larger structures such as platforms.
Importing Tile Images into the FileSystem
First, we need to prepare the tile image.
Please right-click and save the image provided below.

As explained in Chapter 1, the Godot engine can only use assets placed within the project’s FileSystem.
Think of the FileSystem as a warehouse—materials for your amusement park must be placed in the warehouse before they can be used.
Importing is simple:
Just drag and drop the file into the editor.
-
Keep the folder on your computer containing the downloaded image open.
-
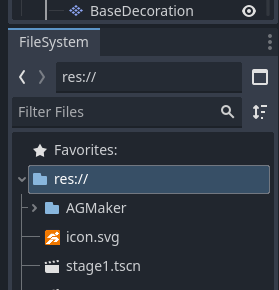
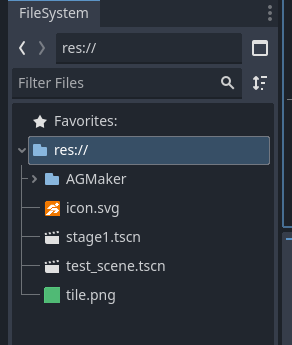
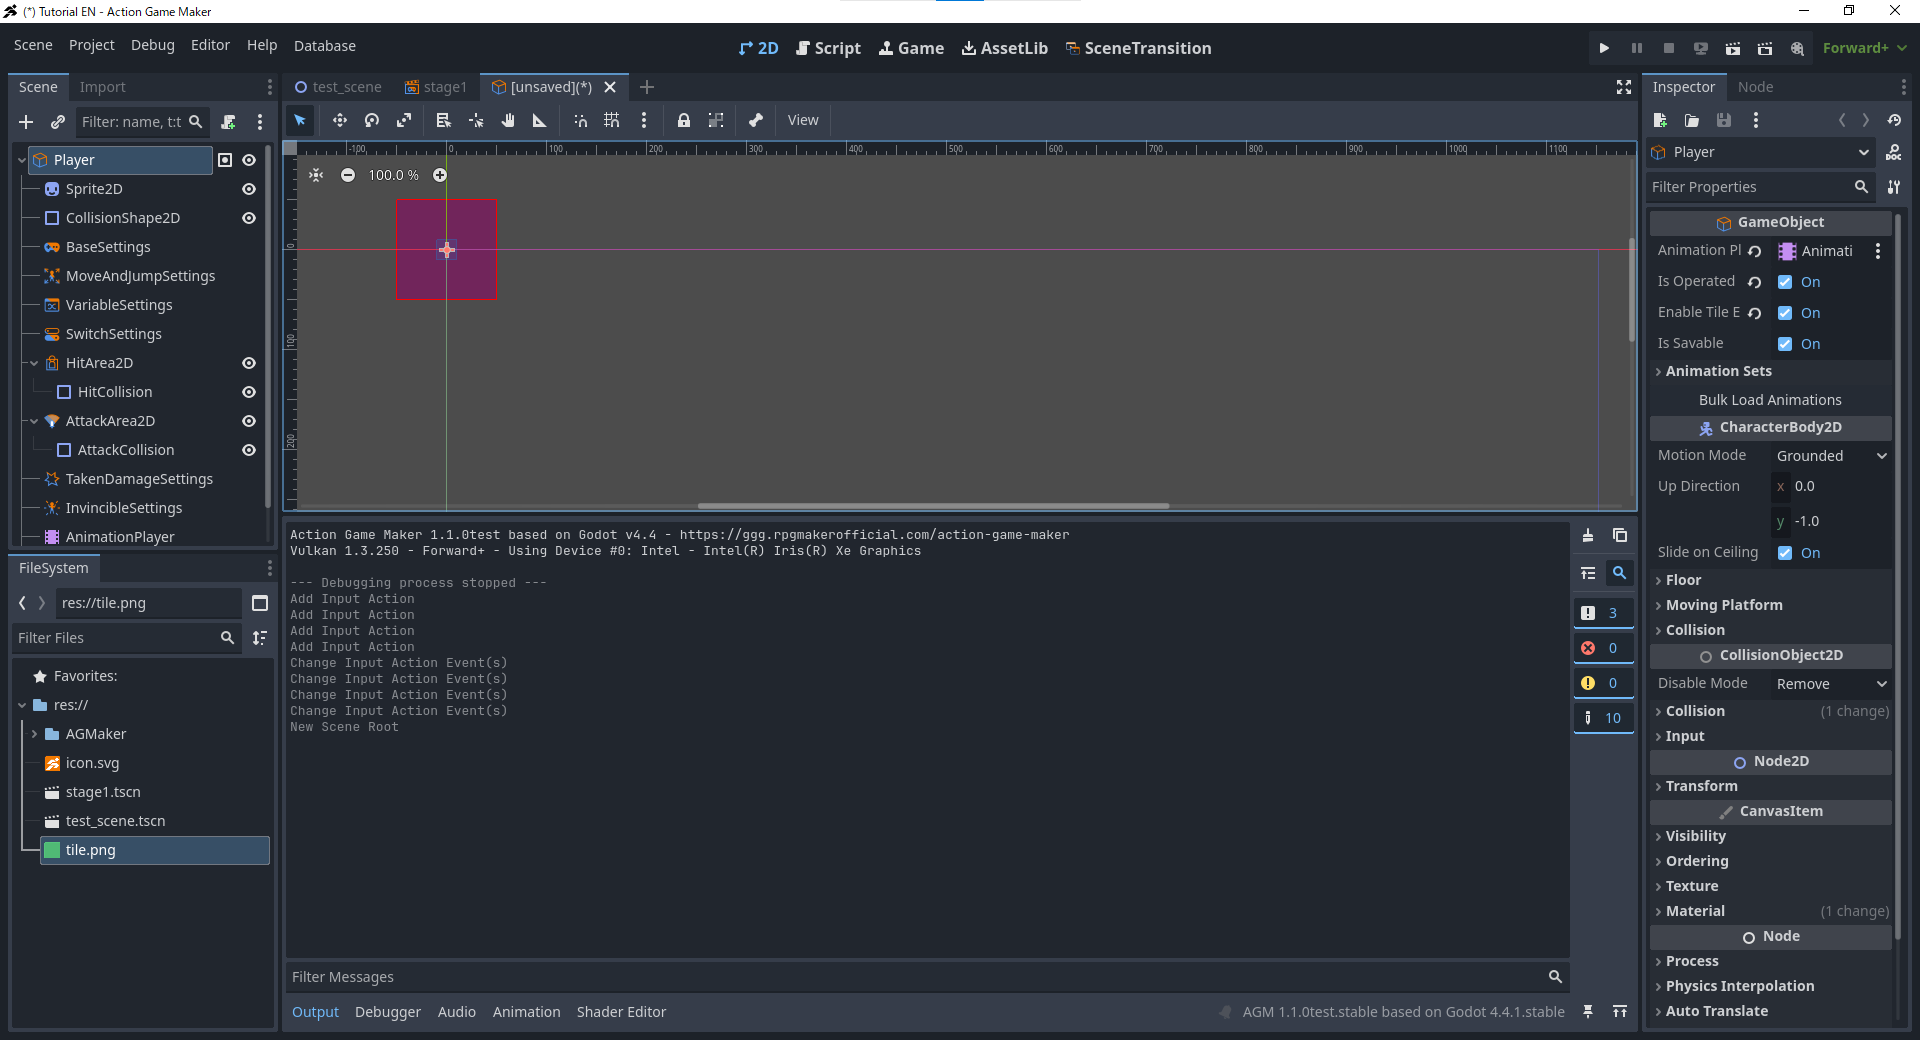
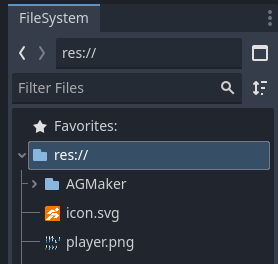
In the editor, navigate to the FileSystem panel in the bottom-left corner and select res://.
- The imported file will be placed in the currently selected folder.
- Drag tile.png from your computer’s folder into the editor window.
Choosing the Tile Layer
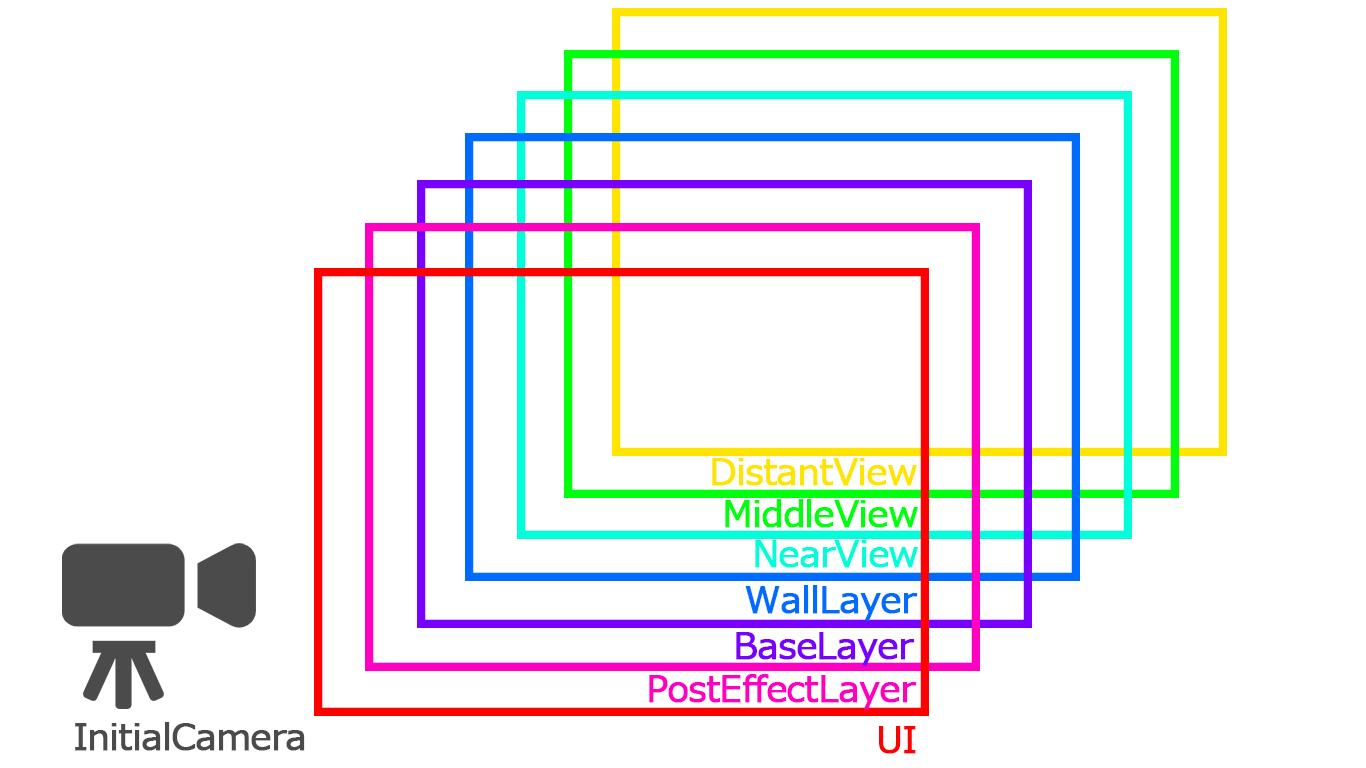
Next, we need to decide which Layer to place our tiles on.
We’ll use BaseLayer, the default layer for ground tiles.
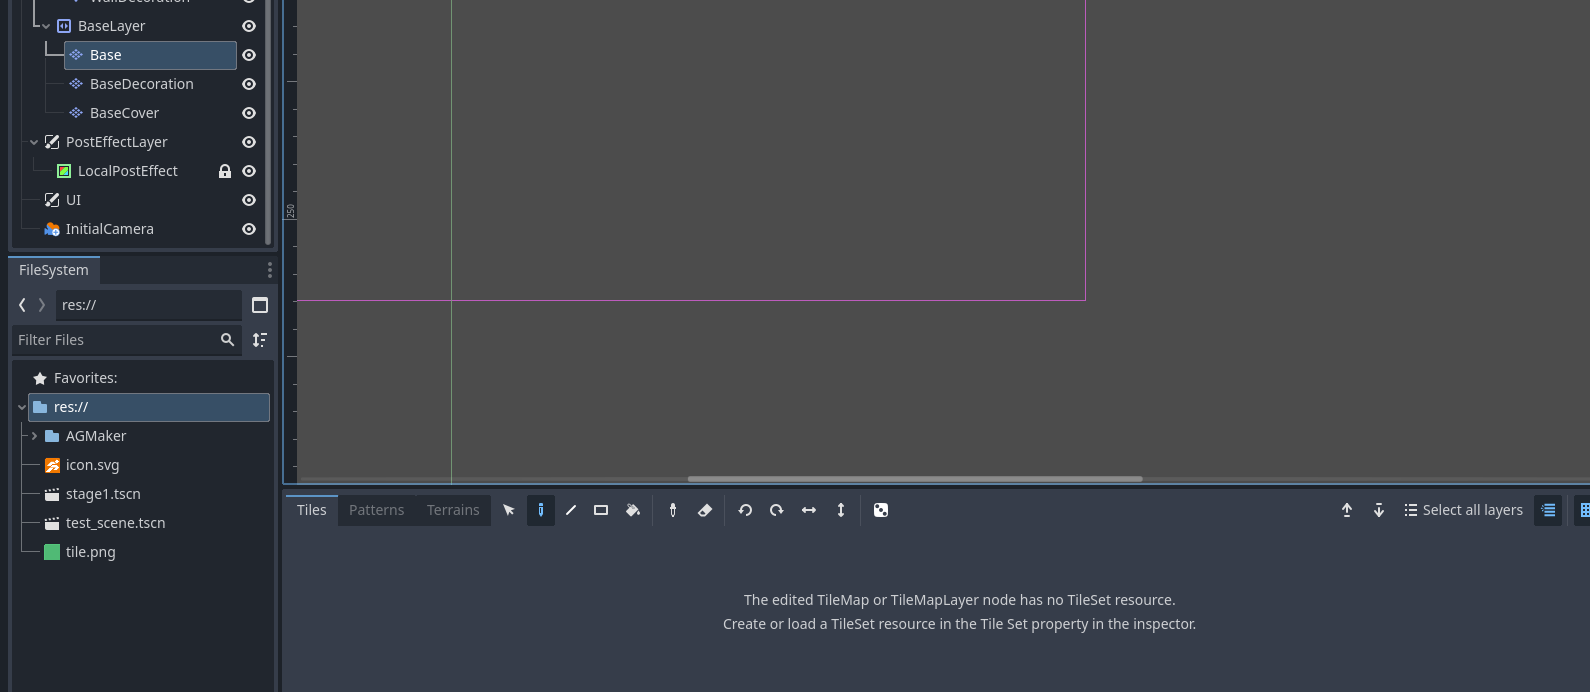
Expand BaseLayer, and you’ll see three nodes:
Base, BaseDecoration, BaseCover.
These are all TileMapLayer nodes, just with different names.
Why prepare three similar nodes?
- To allow overlapping tiles, creating depth and layering.
- For example, you might want to place a torch on top of a ground tile.
- If there were only one layer, placing the torch would cover the ground tile.
- With multiple layers, both ground and decorations can be displayed simultaneously.
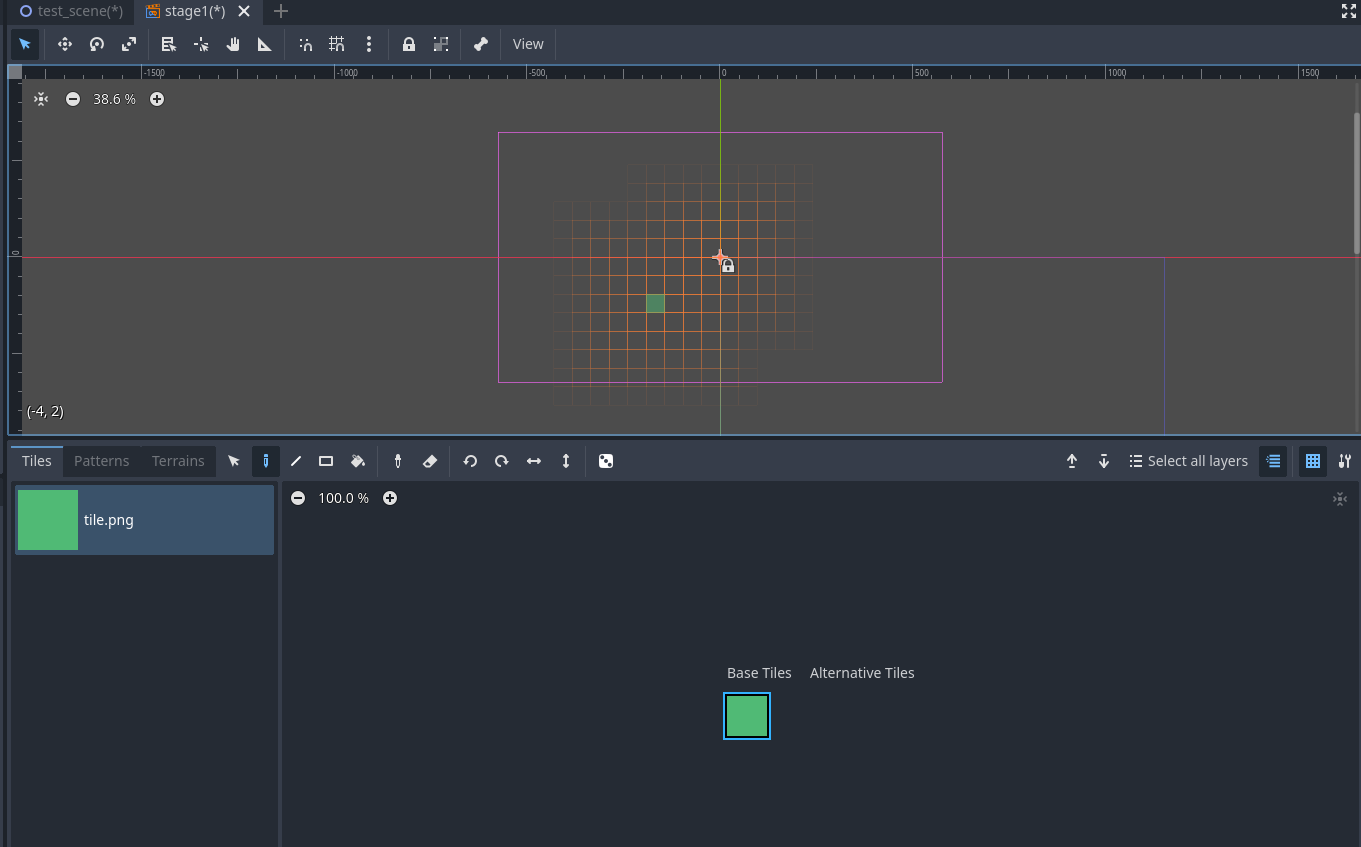
Now, select the node named Base to place your tiles.
At the bottom of the screen, you’ll see a message like:
“No TileSet found. Please create a TileSet in the Inspector.”
Creating a TileSet
A TileSet defines the basic properties of the tiles used by this TileMapLayer, such as:
- The size and shape of each tile
- Whether it can collide with characters or be passed through
Our prepared tile image is a 48×48 pixel square.
Since it will serve as a platform for the player to stand on, collision must be enabled.
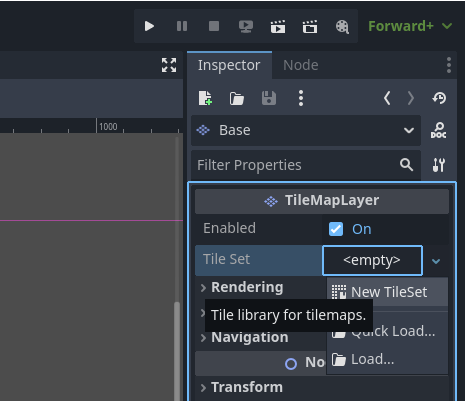
- In the Inspector, locate TileSet,
click , and select New TileSet.
- Next, configure the TileSet properties as follows:
- Tile Shape: Square
- Tile Size: x = 48 px, y = 48 px
- Expand Physics Layers, and click + Add Element.
- Leave Collision Layer / Collision Mask at their default settings.
- If your Inspector displays something like Physics Layer 0 as shown in the example,
your TileSet’s basic setup is complete.
Note: Collision Layer and Collision Mask
In Godot, collisions are determined by two settings:
- Collision Layer: The group this node belongs to
- Collision Mask: Which groups this node can collide with
We’ll explain this mechanism in more detail in Chapter 3.
Configuring Tile Content
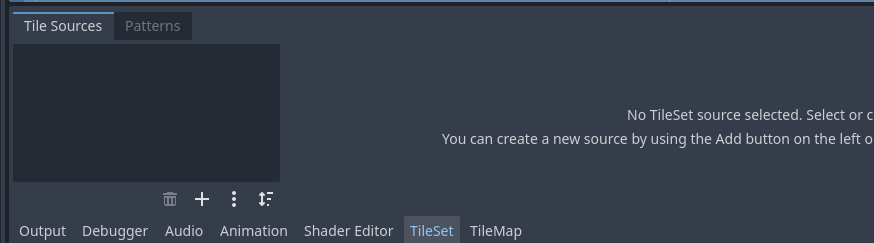
After creating the TileSet, the bottom message will change to something like:
“No source for TileSet”.
This means we still need to assign an image to the tiles,
and set up the collision shape (ground/walls).
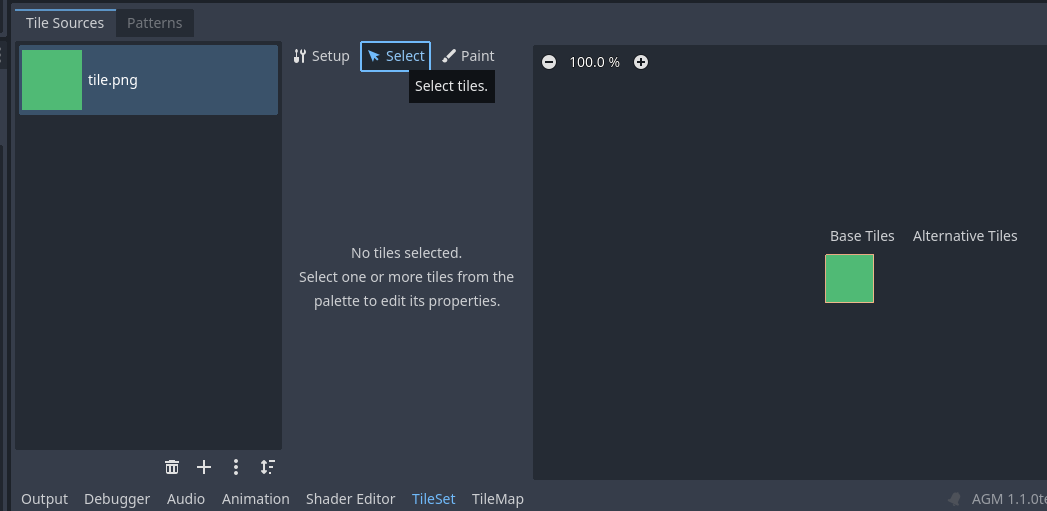
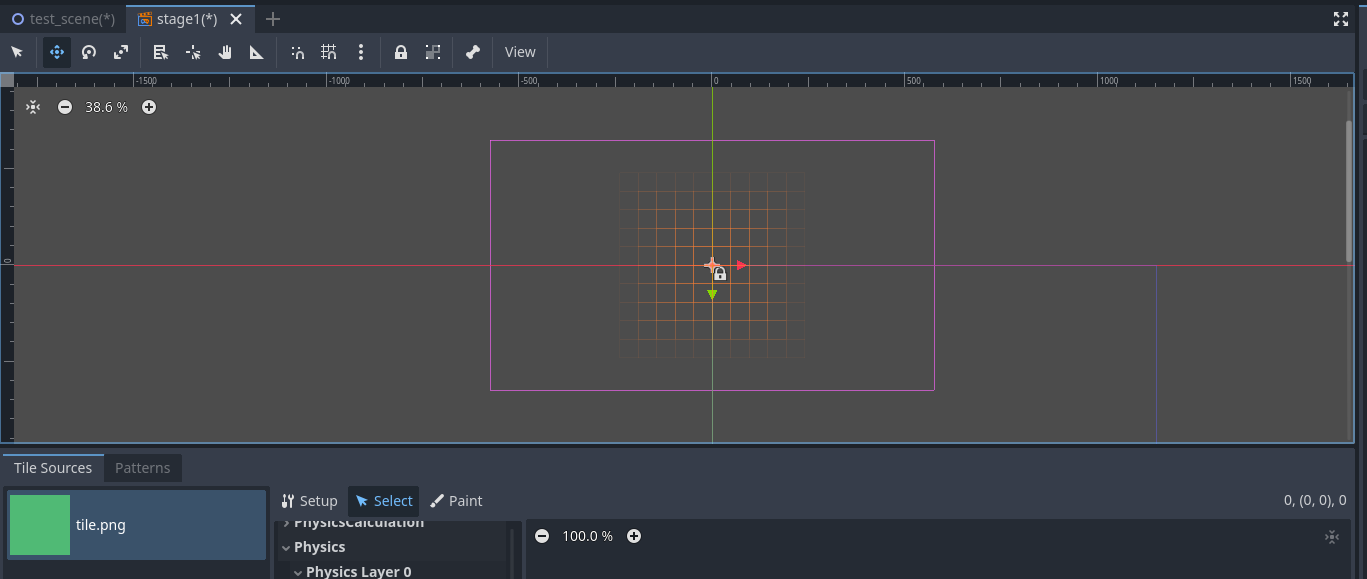
- In the bottom panel, switch the tab from TileMap to TileSet.
- From the FileSystem panel, drag tile.png into the black area on the left side of the TileSet editor.
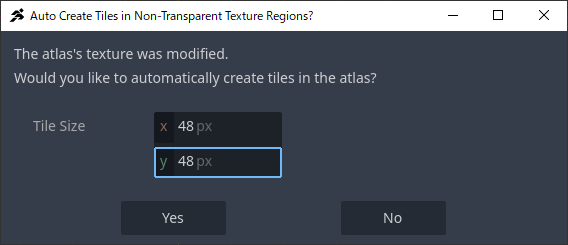
- A new window will appear.
Since our tile is a 48×48 square, set
Tile Size: x = 48, y = 48, then click Yes.
- You’ll then be asked:
“Set the Tile Format to Auto Tile?”
Select No.
Note: What Are Atlas and Auto Tile?
Atlas refers to combining multiple small images (like ground, walls, slopes)
into a single large image.
The engine loads just one large image and slices it into multiple tiles, improving efficiency.
Auto Tile is a unique feature of ACTION GAME MAKER.
It automatically organizes tile atlases in specific formats, but we won’t use this feature this time.
Adding Collision Shapes to Tiles
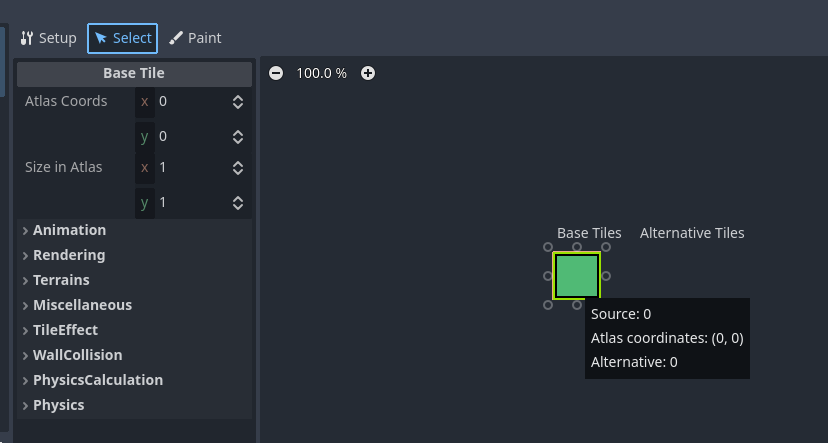
- In the TileSet editor, switch to the Select tab at the top.
- This tab allows detailed configuration of individual tiles.
- Click the tile image on the right to select it.
- The panel below will switch to display the properties of this tile.
- Scroll down and expand Physics > Physics Layer 0.
- This is the physics layer we created earlier.
- Click the Add Polygon Tool (square icon with a “+”).
- This tool adds vertices to draw polygons.
- A polygon is a shape formed by connecting multiple points.
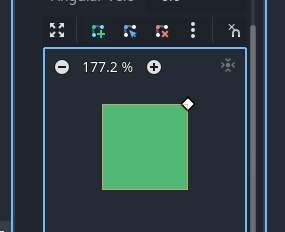
- Click the top-right corner of the green square; a diamond-shaped point will appear.
- Proceed clockwise, repeating the same action for the bottom-right, bottom-left, and top-left corners.
- Finally, click the first point you placed (top-right corner) again.
- The tile will turn orange, indicating the entire square has been set as a collision area.
Troubleshooting Common Issues
-
If points are misplaced:
Use the Edit Point Tool (square icon with an arrow) to move points.
-
If you accidentally added too many points:
Use the Delete Point Tool (square icon with an “X”) to remove extra points.
 You’ve now successfully completed the following steps:
Imported the tile image, created a TileSet, assigned the image, and set up collision.
This tile is now ready to be used as a platform for your character to stand on.


























 + button on its right.











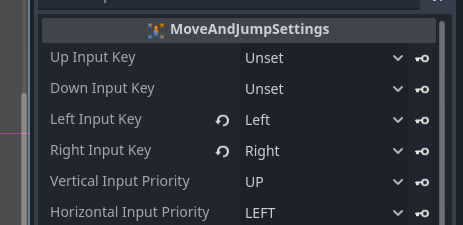
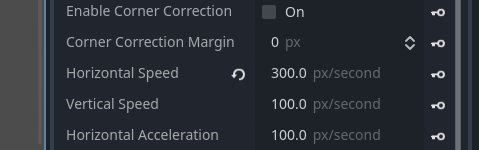
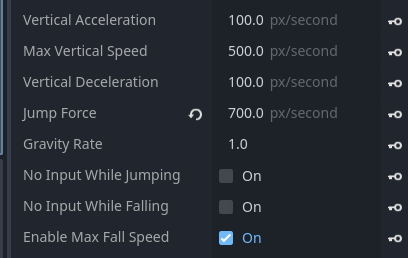

 If the character is currently displaying Jump or Move animation frames,
 + (Attach Script, Attach Script) button.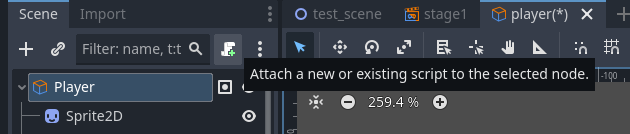




 So, do we need a Jump → Move link?