This is my first tutorial, so I’ll try to make it understandable for most people, though my language skills are limited. Alright, that’s enough of the disclaimer.
By the time you read this article, you should already have a fresh, hot copy of ActionGameMaker in hand.
Although AGM can create a wide variety of game types, I’m sure you’ll still need to implement character movement left and right.
Although AGM supports many animation types, I’m sure you’ll still need to work with sprite sheet animations.
So, this article will guide you step-by-step to make your character walk and stop in the game.
Additionally, if you have some experience and just want a reference for sprite sheet movement, feel free to start from [Step 4].
[STEP 1]
Create a project. Details omitted below.
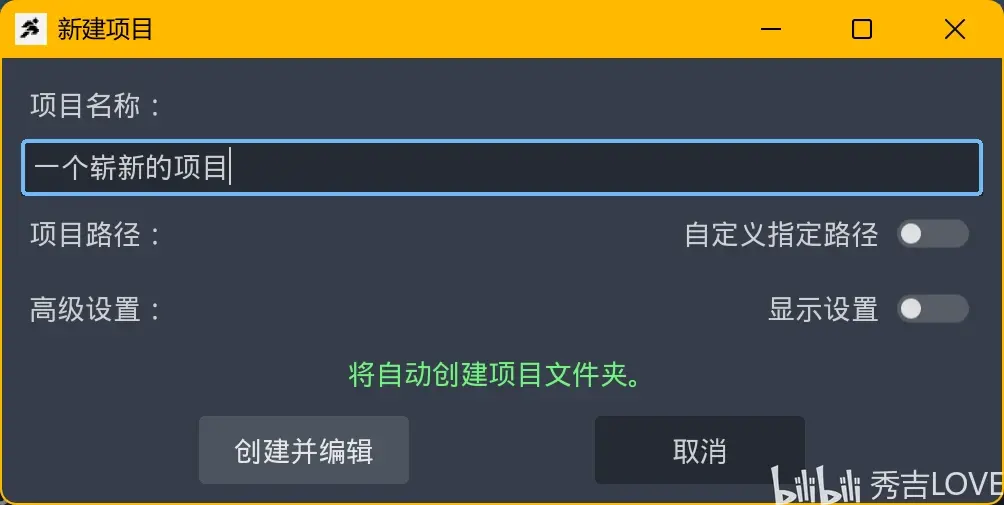
[STEP 2]
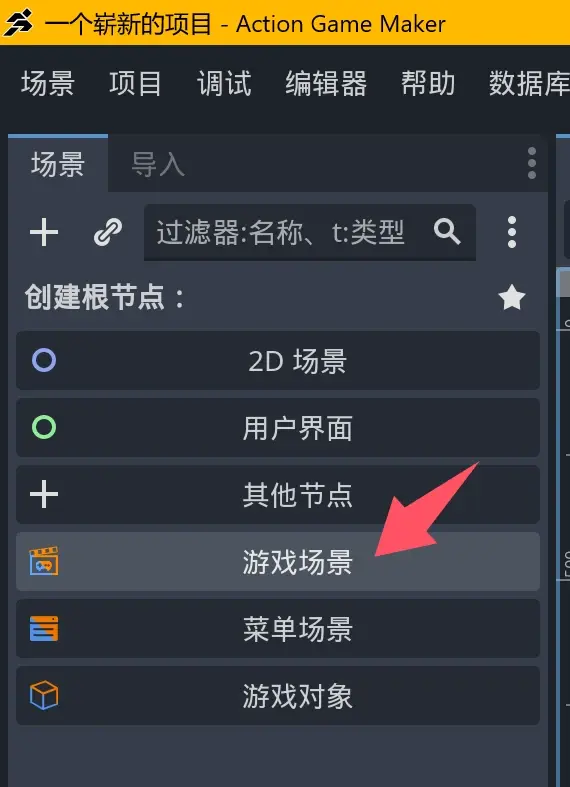
Create a game scene to serve as the background for your character.
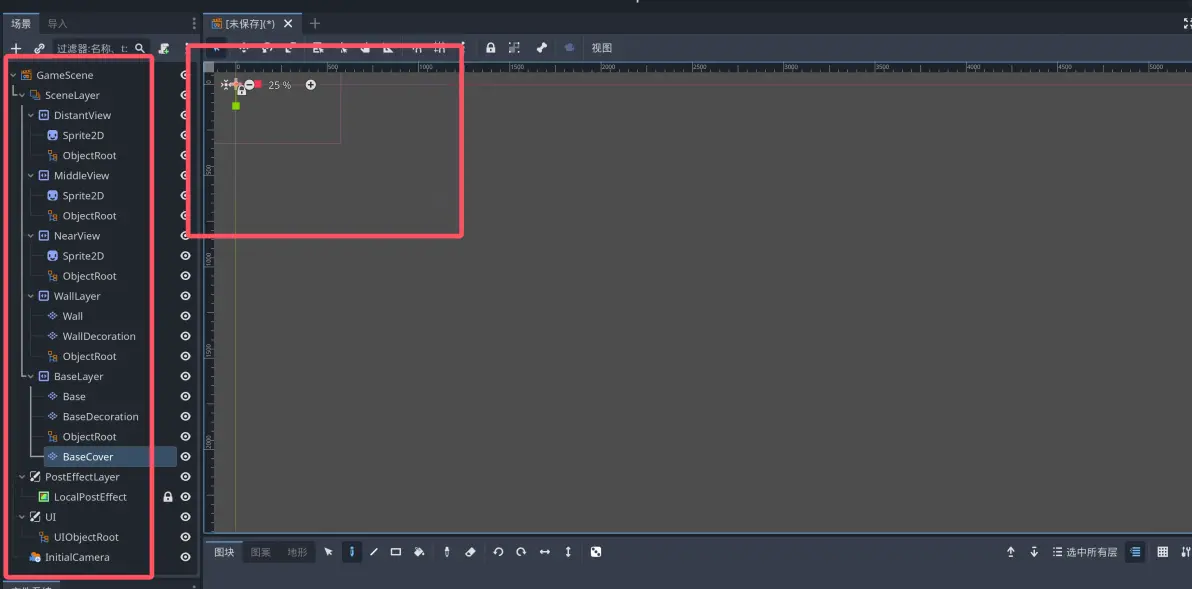
Once the game scene is created, a long list of items will appear. On the left are all the nodes used in the entire scene, and on the right is where the character will be placed. [Important] Save this with Ctrl+S; the filename and location are up to you.
Next, switch to the Scene tab (1) and add the newly created game scene (2).
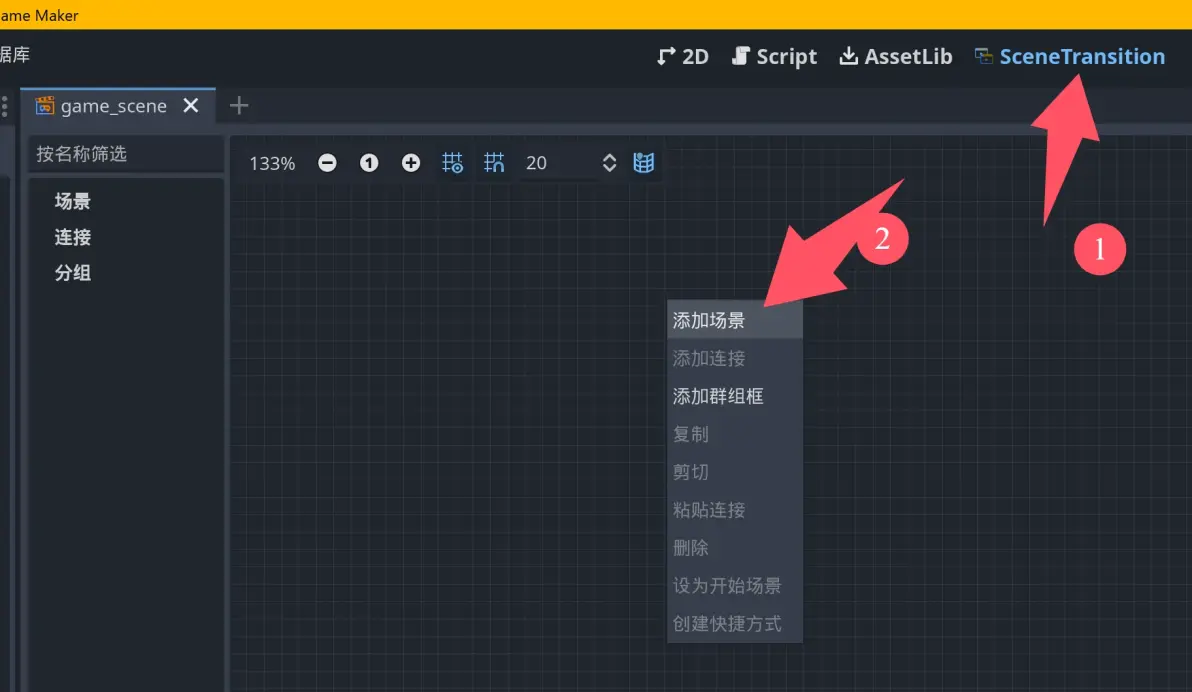
Now you can run it. If you see a logo and then a gray screen, congratulations, the previous steps are correct.
[Step 3]
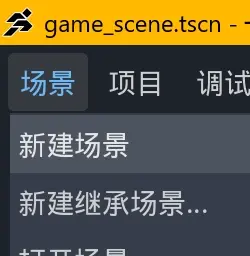
In the menu bar, select [Scene] - [New Scene] (Don’t ask me why it’s also called “Scene” here; check other Godot tutorials for that knowledge).
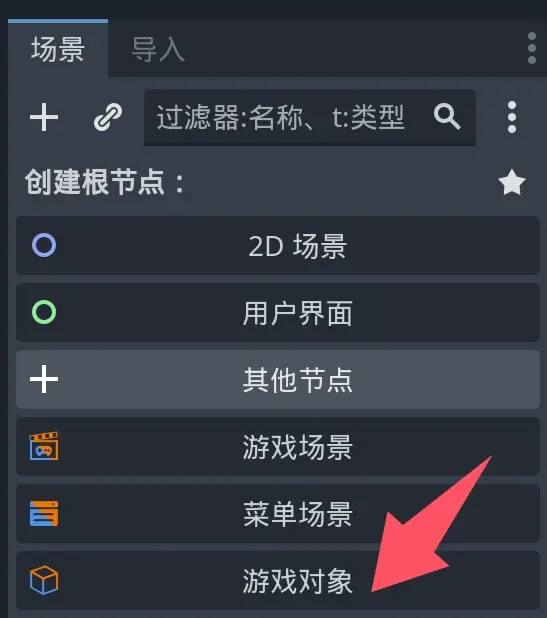
In the original scene window, find [Game Object] and click it.
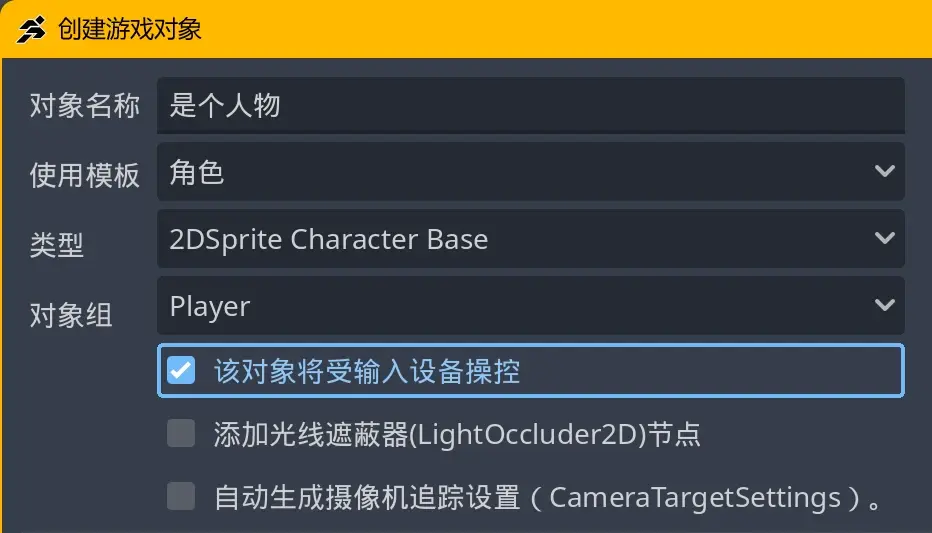
Do this repeatedly.
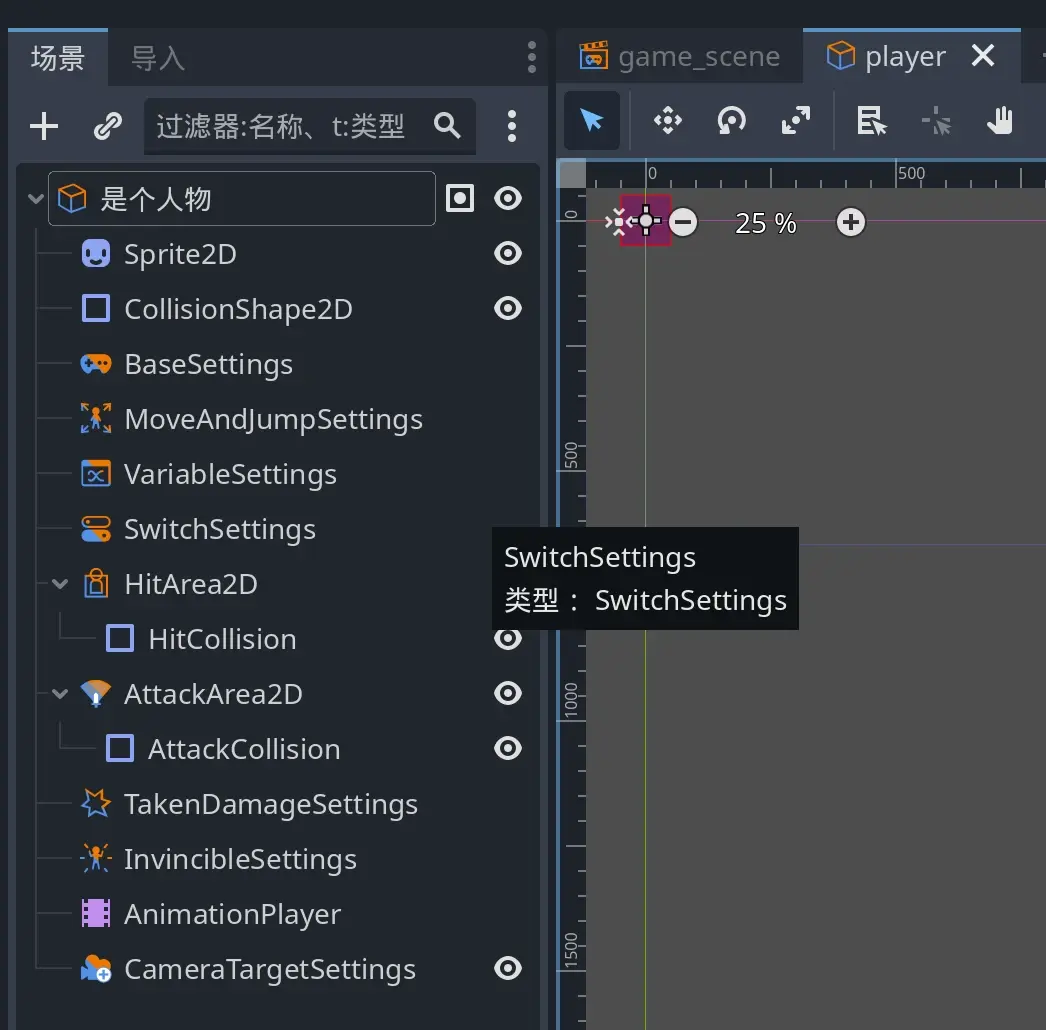
A bunch of new nodes will be generated. Save it; I named the file “player”.
[Step 4] Here comes the big part.
This uses an unconventional method. First, remove the Sprite2D node under [Is a Character].
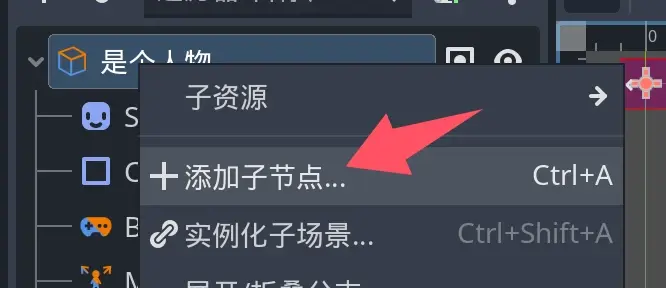
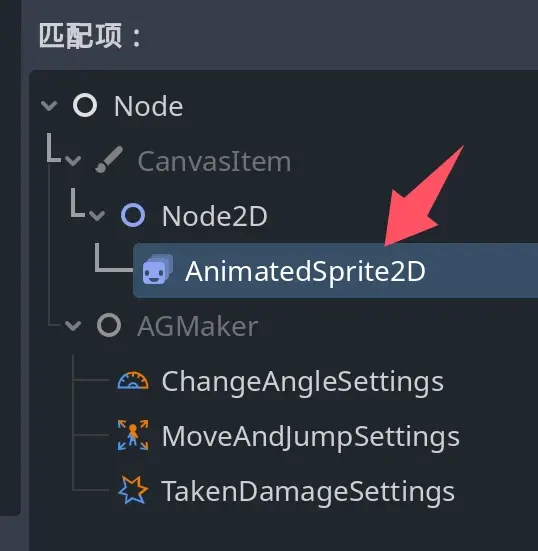
Then create an [AnimatedSprite2D] node.
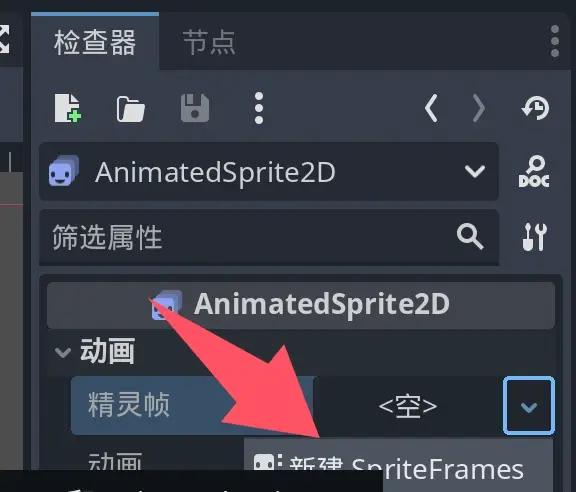
Create a new [SpriteFrames].
At this point, switch to the Control window below; it should automatically switch to the SpriteFrames tab.
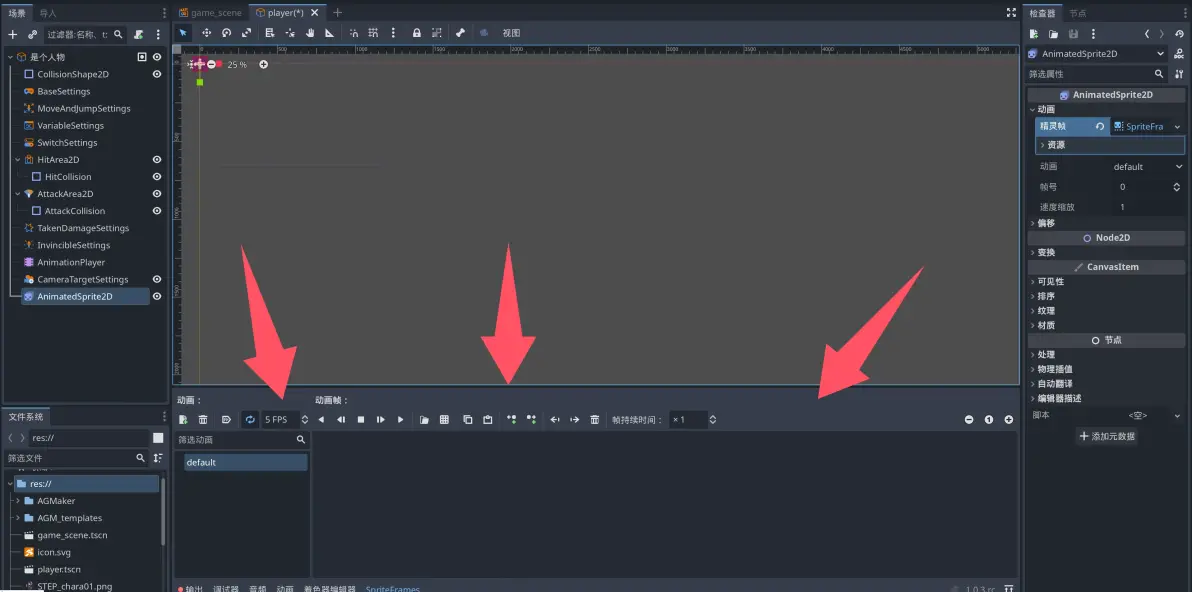
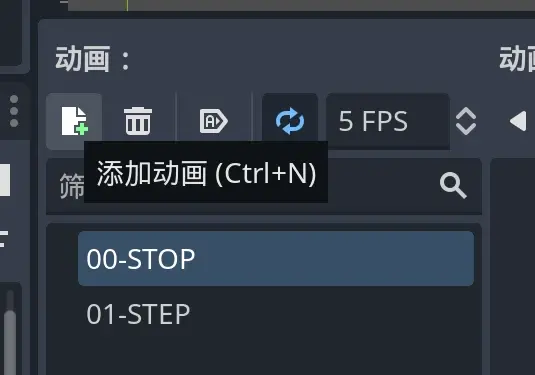
Use the “Add Animation” button to create the two animations we need: Walk [01-STEP] and Stop [00-STOP].
Select [00-STOP]. Here you can choose: (1) Add frames from files, meaning each frame is saved separately, or (2) Add frames from a sprite sheet, meaning all frames are combined into one file. The effect is the same. Here, I’ve added the images I used into the two animation tabs.
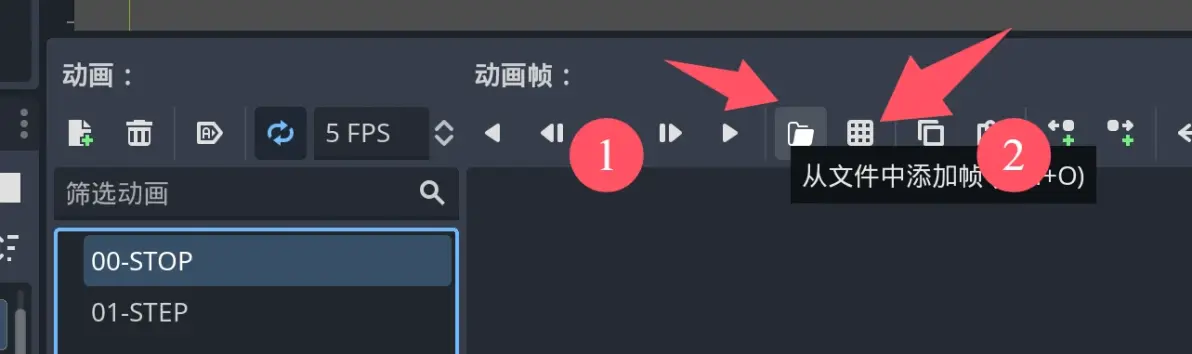
After inserting images, here are a few functions:
(1) Auto-play after loading: You can only enable this for one animation group, which will be your character’s initial state animation.
(2) Loop playback: This is definitely required.
(3) Frame rate (4) Duration per frame: These adjust the animation rhythm from macro and micro perspectives.

[Step 5]
Let’s take a look at AnimationPlayer.
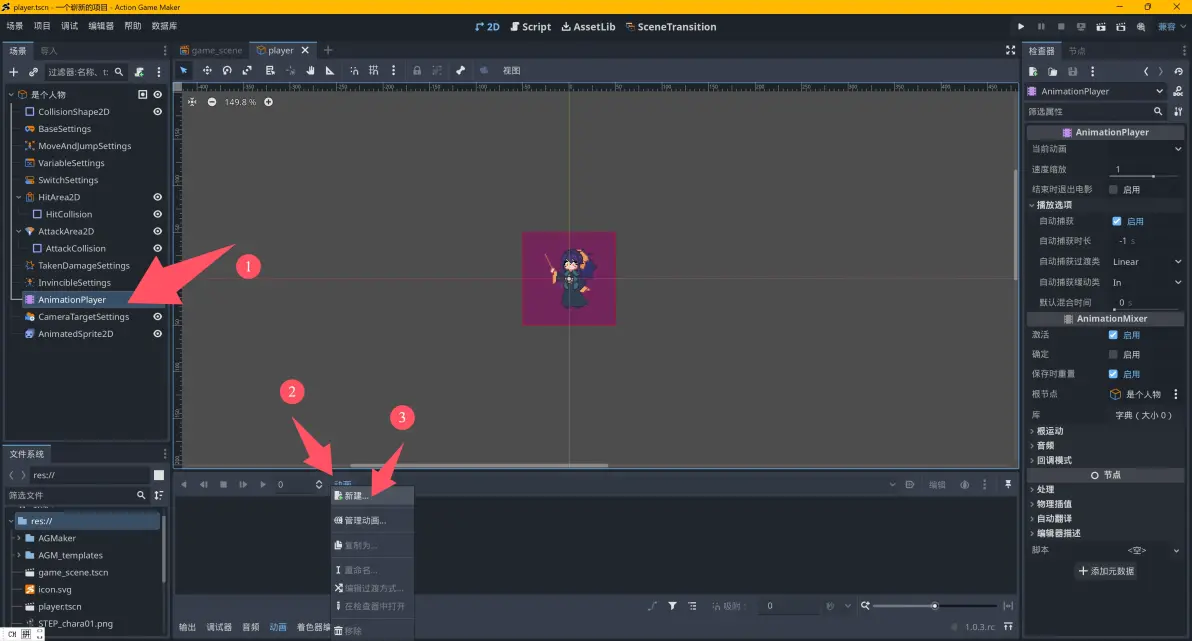
First, select AnimationPlayer, then select the animation below, open the popup menu, and choose “New”.
Perform the following operations in the new animation:
(1) Open the loop setting.
(2) Since it’s a 4-frame animation, I set the duration to 4.
(3) Select the newly created STOP animation.
(4) Set STOP as the current animation.
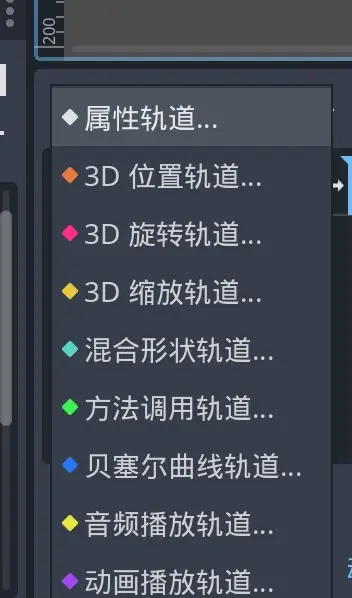
(5) Click the plus sign, Add Track (Important!).

Select Property Track.
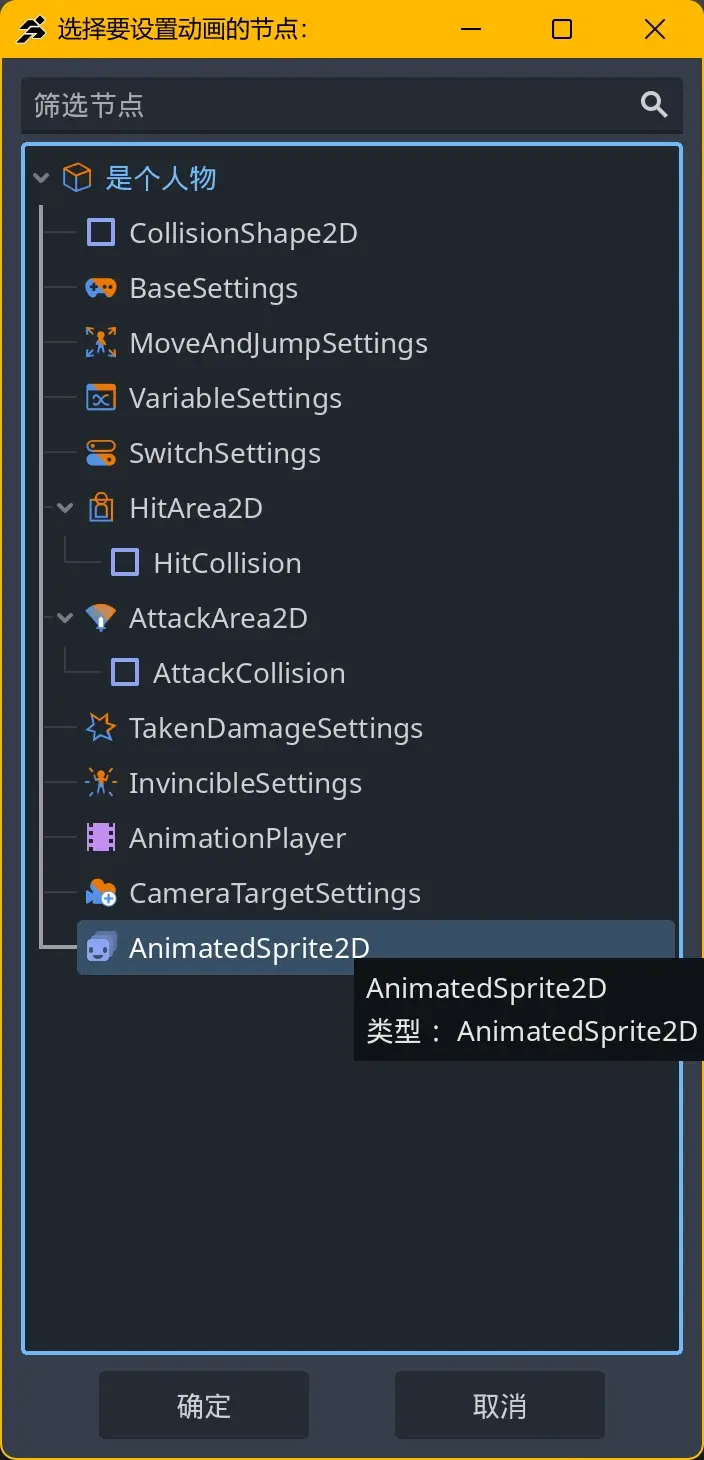
Select the AnimationSprite2D we created earlier.
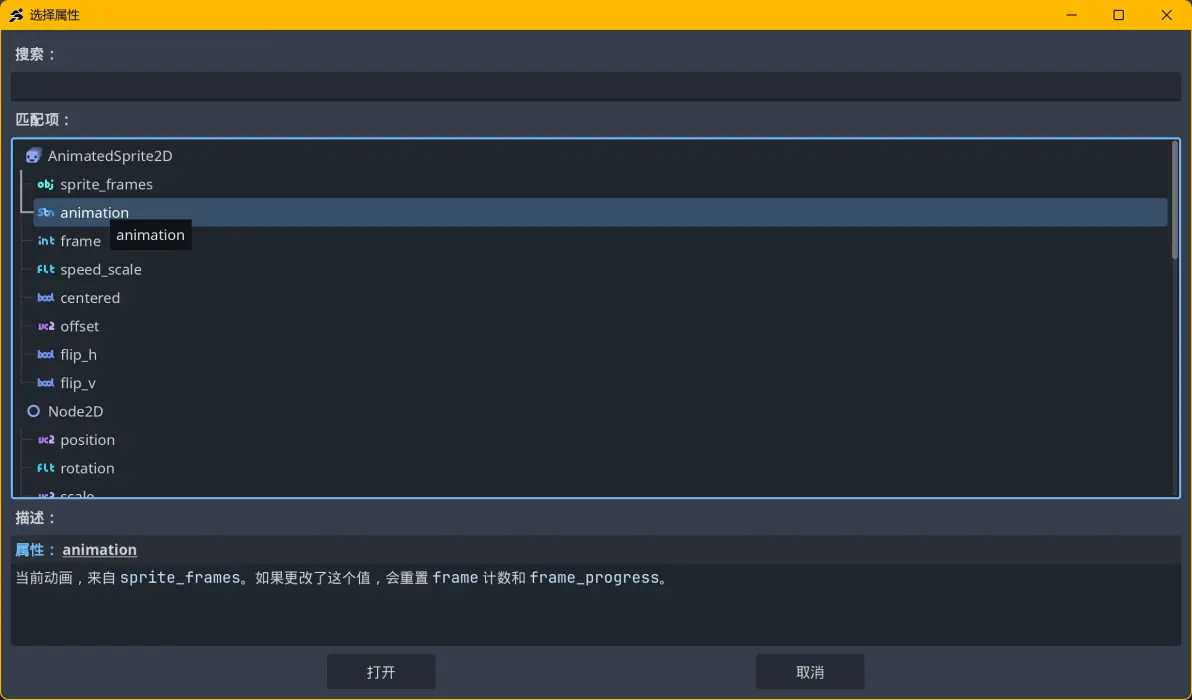
Select “animation”.
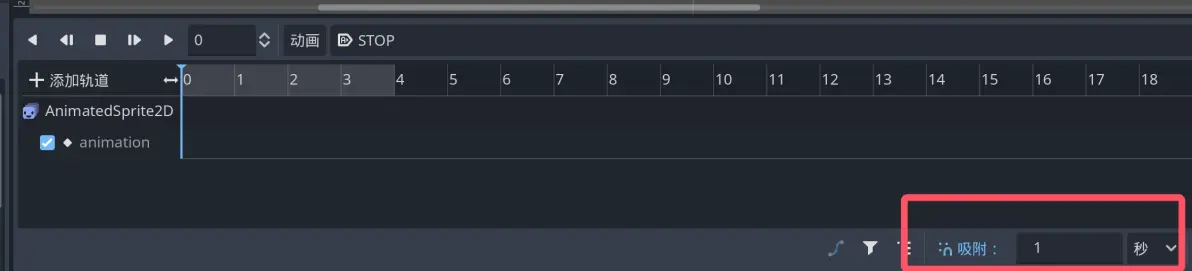
For convenience later, change the timeline snap setting to 1 second.
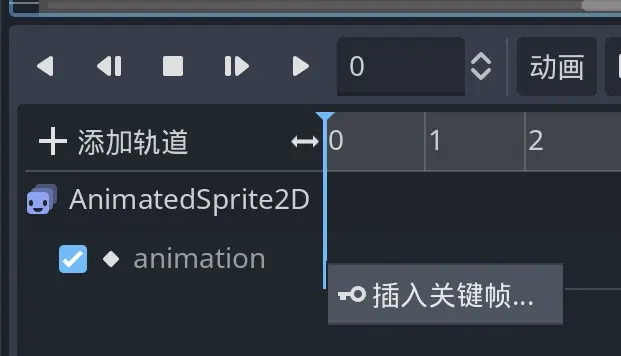
Insert a keyframe at timeline position 0.
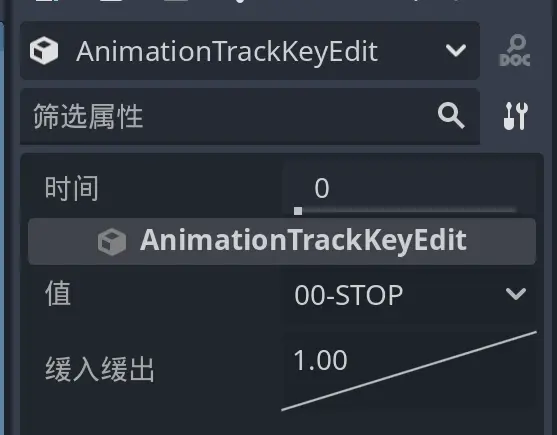
After selecting the keyframe, set its value to “00-STOP” in the Inspector.
[Step 6]
Repeat the actions from [Step 5] to map all [01-STEP] animations to AnimationPlayer as well.
[Step 7]
Open the Inspector for [Character].
In [Animation Set], click [Add Animation Category].
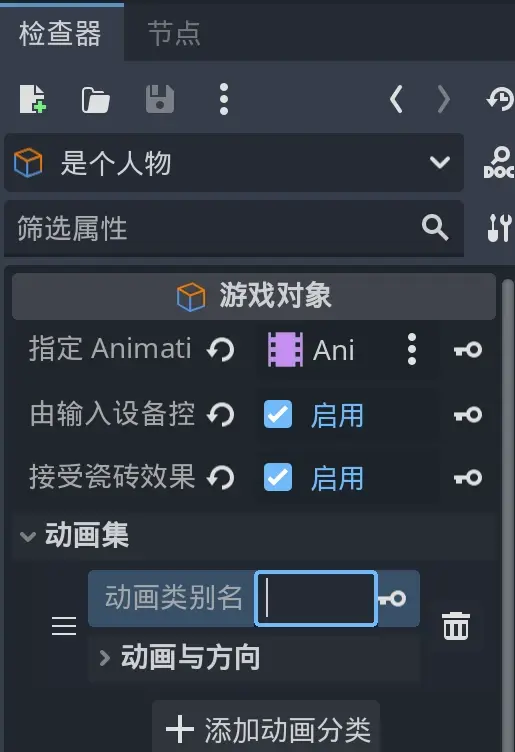
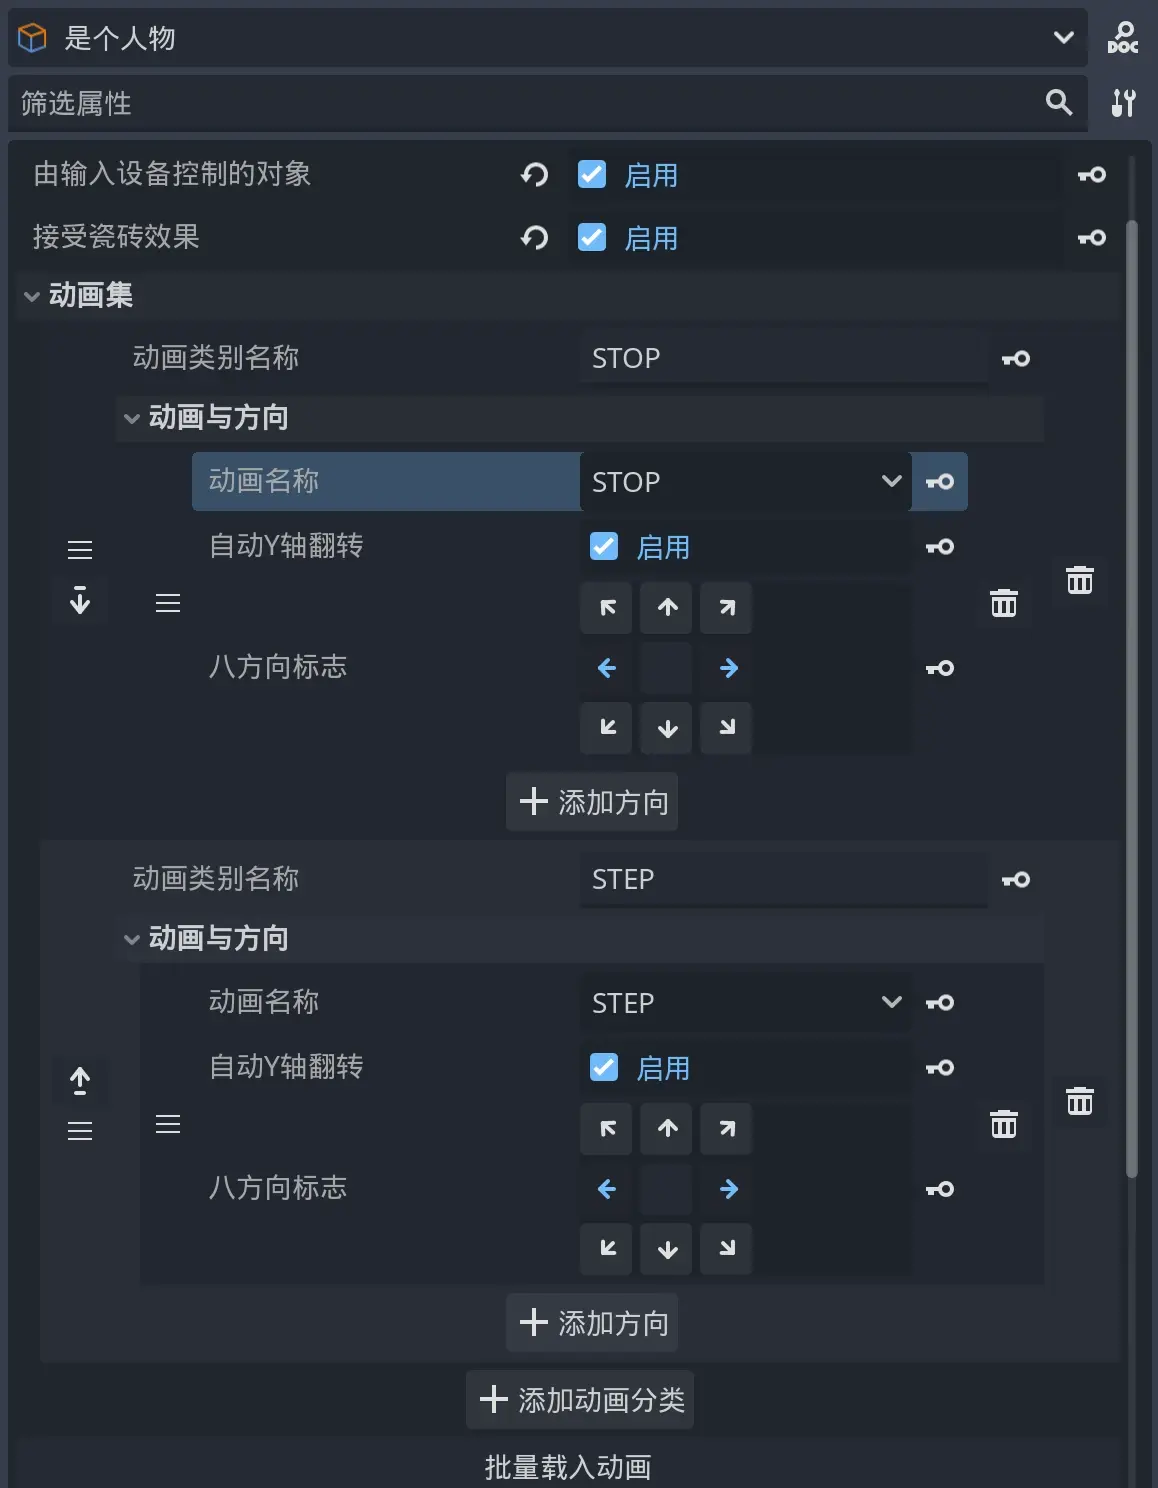
Fill it in properly. If you can’t select animation names here, try pressing Ctrl+S a few more times on both AnimationPlayer and the Character.
[Step 8]
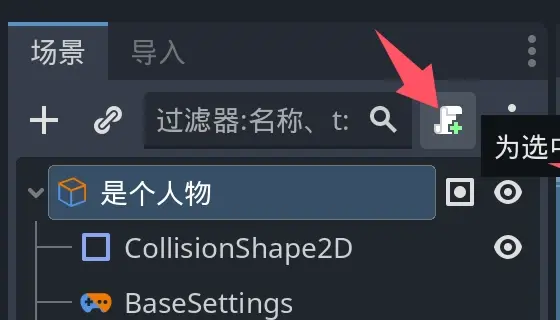
Next, add a Visual Script to the character by clicking this button.
Rename the initial state to “STOP”, and create a new state called “STEP”.
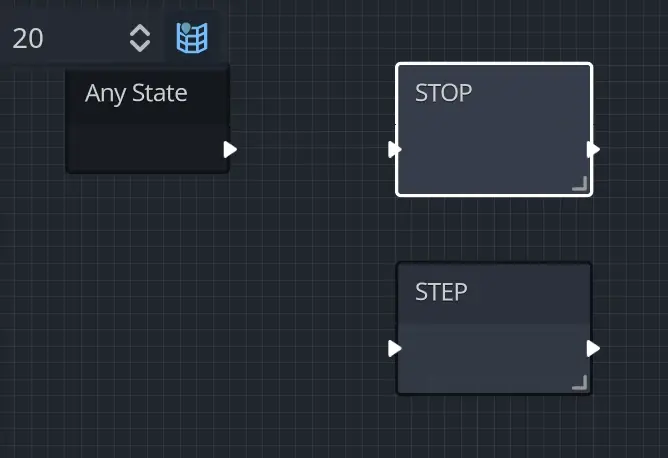
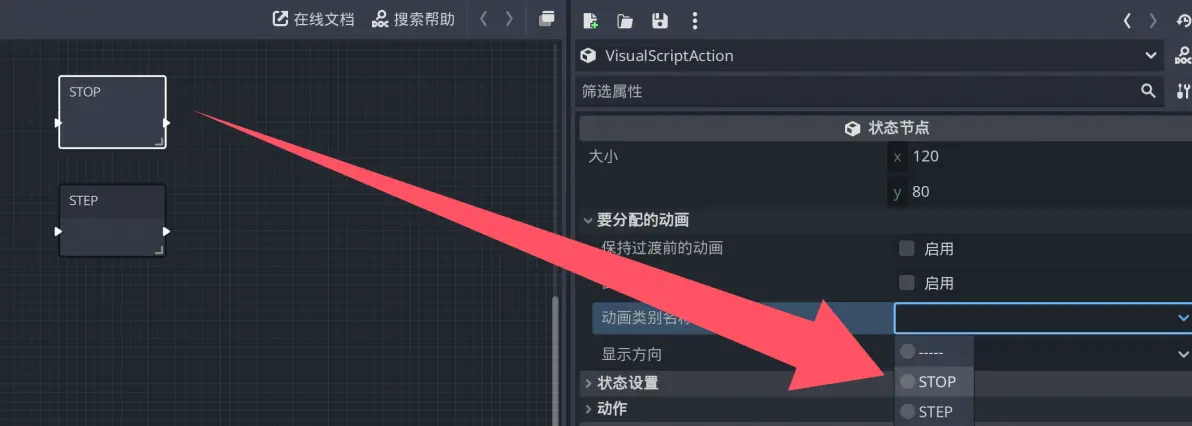
Map each state to its corresponding animation.
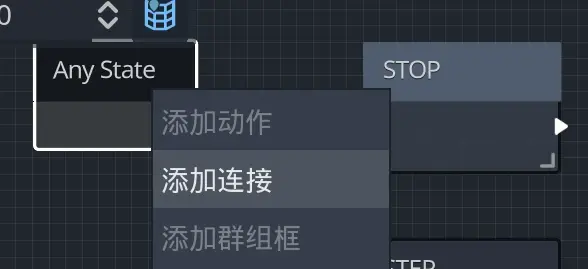
Connect both states from Any State.
Pause here for a moment. [Step 9] will teach you how to set up input keys and drag the Player into the Scene; you can skip this if you wish. We’ll return to continue the logic in [Step 10].
[Step 9]
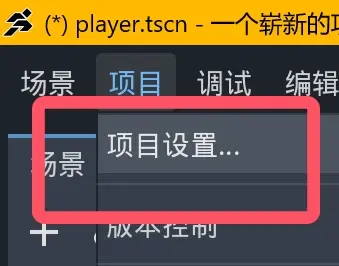
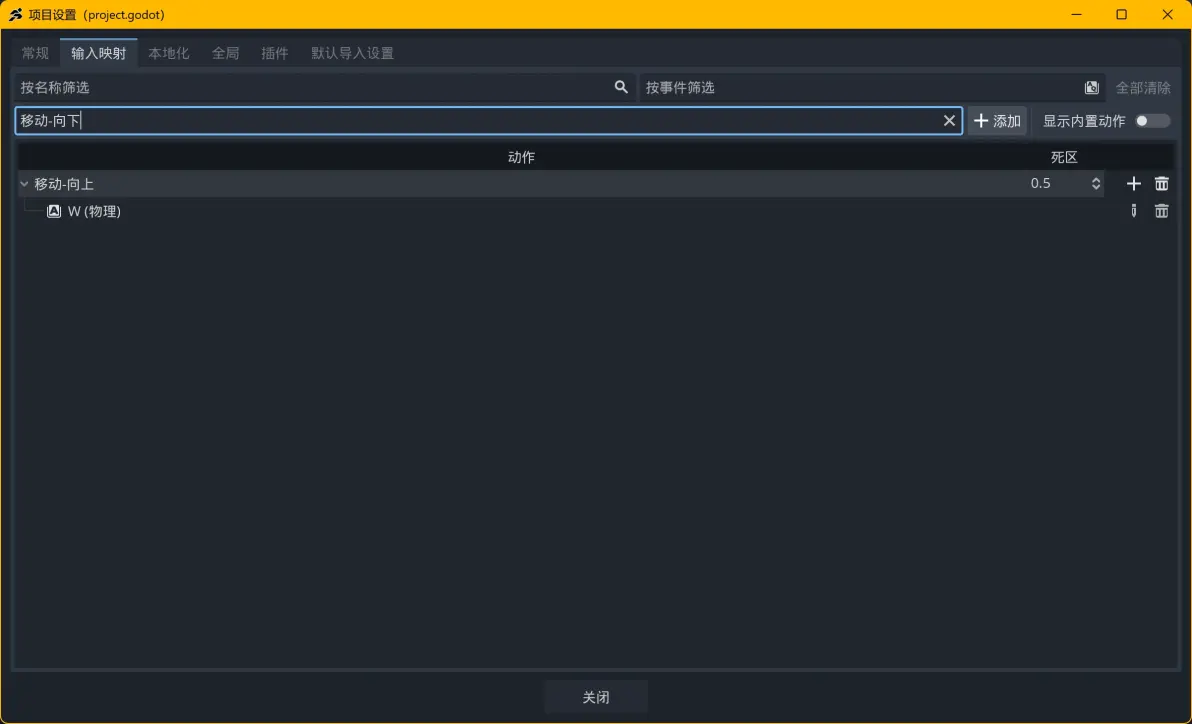
In Input Map, add four actions: [Move], [Up], [Down], [Left], [Right], and assign appropriate keys.
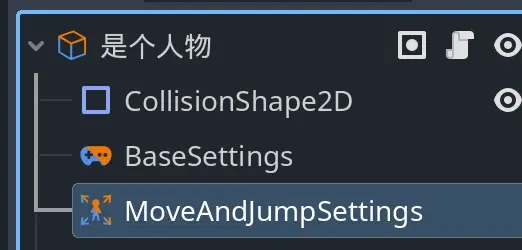
Go back to the player file, find the MoveAndJumpSettings node.
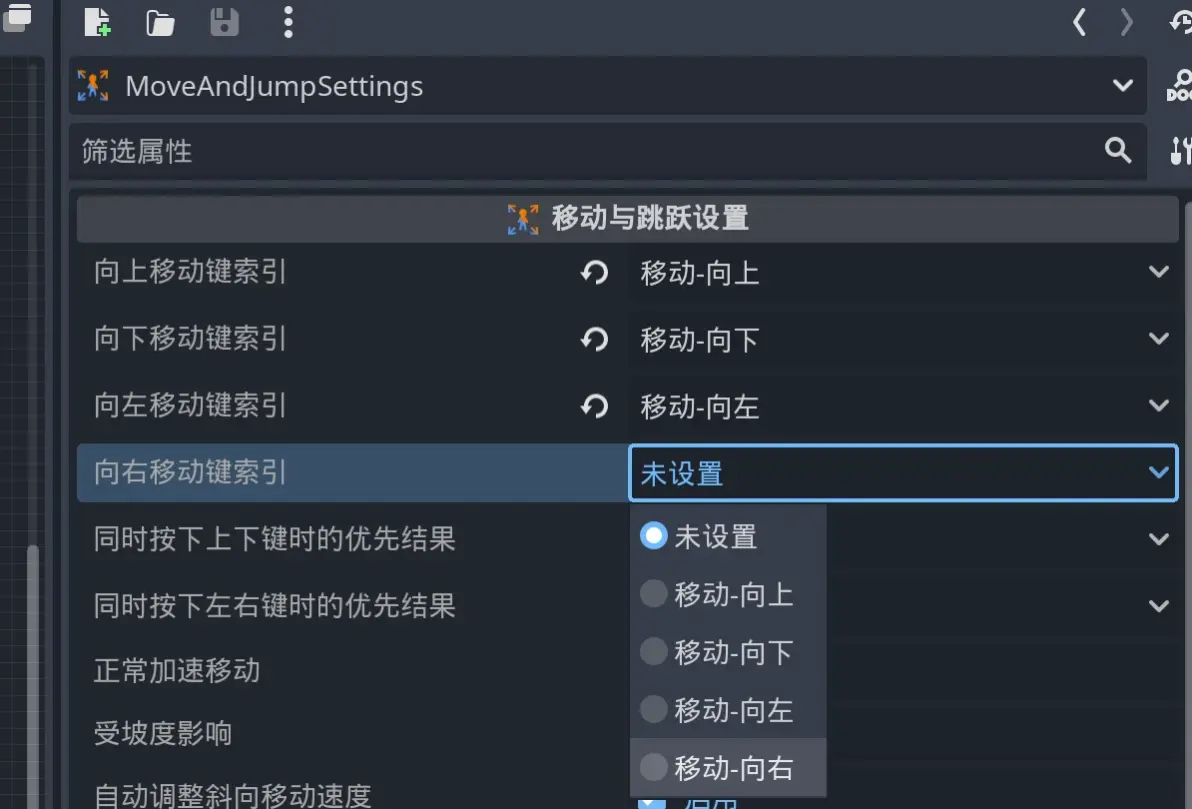
Configure as follows.
[Step 9.5] Drag the player into the Scene.
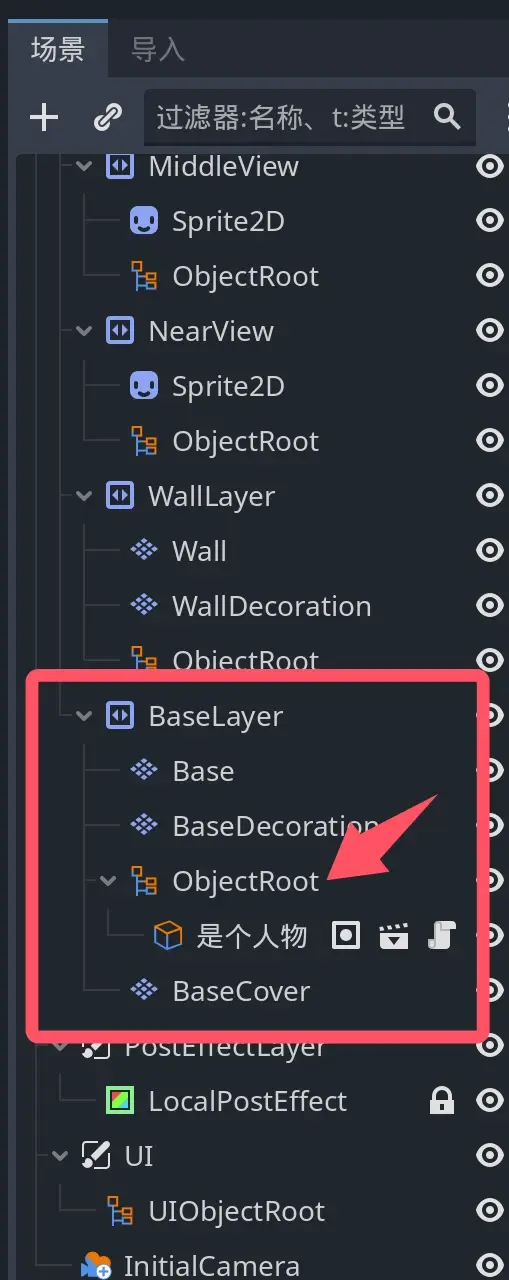
Open the previous game_scene file, find the ObjectRoot shown in the image among the many ObjectRoots, then [Right-click] [Instantiate Child Scene] [player.tscn].
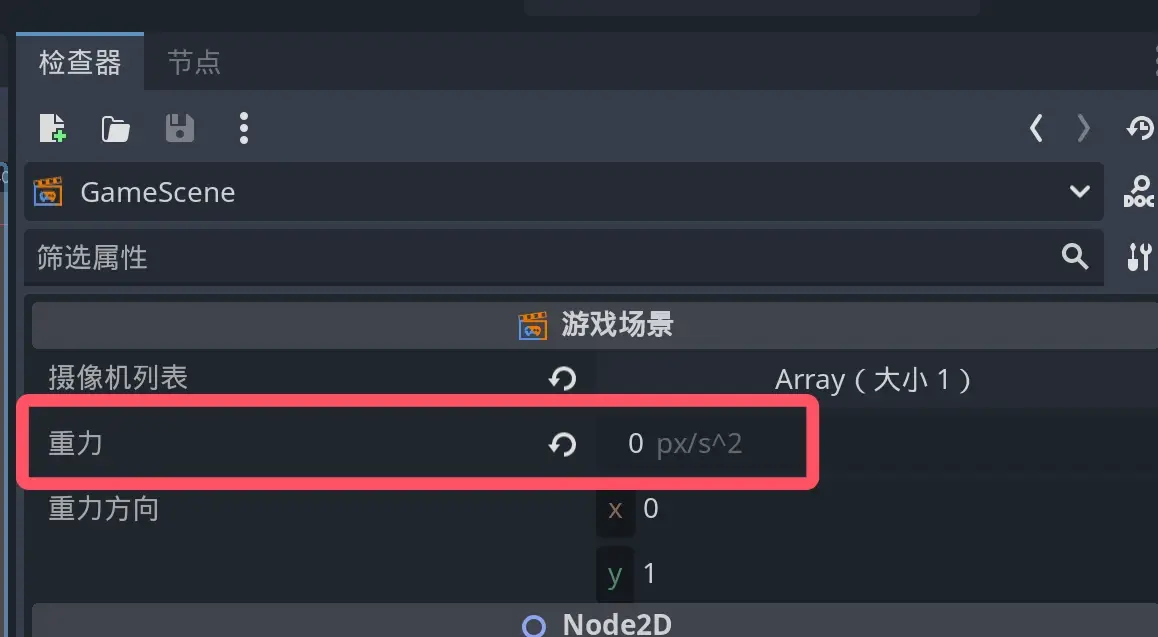
Then, in the GameScene Inspector, set gravity to 0.
[Step 10]
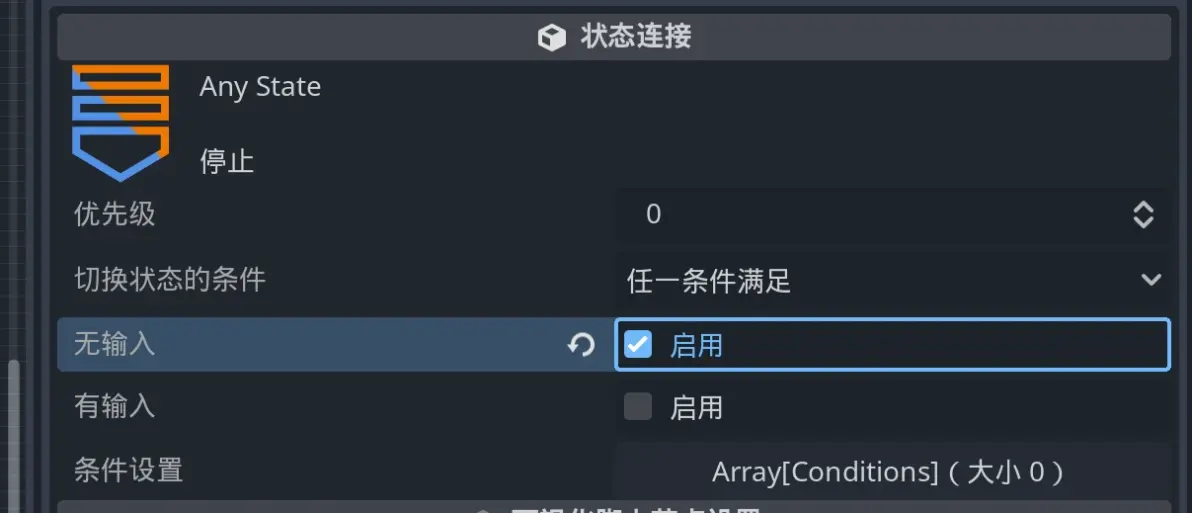
Return to [Step 8]. We previously created two connections here; now let’s configure them.
Connection 1
Connection 2
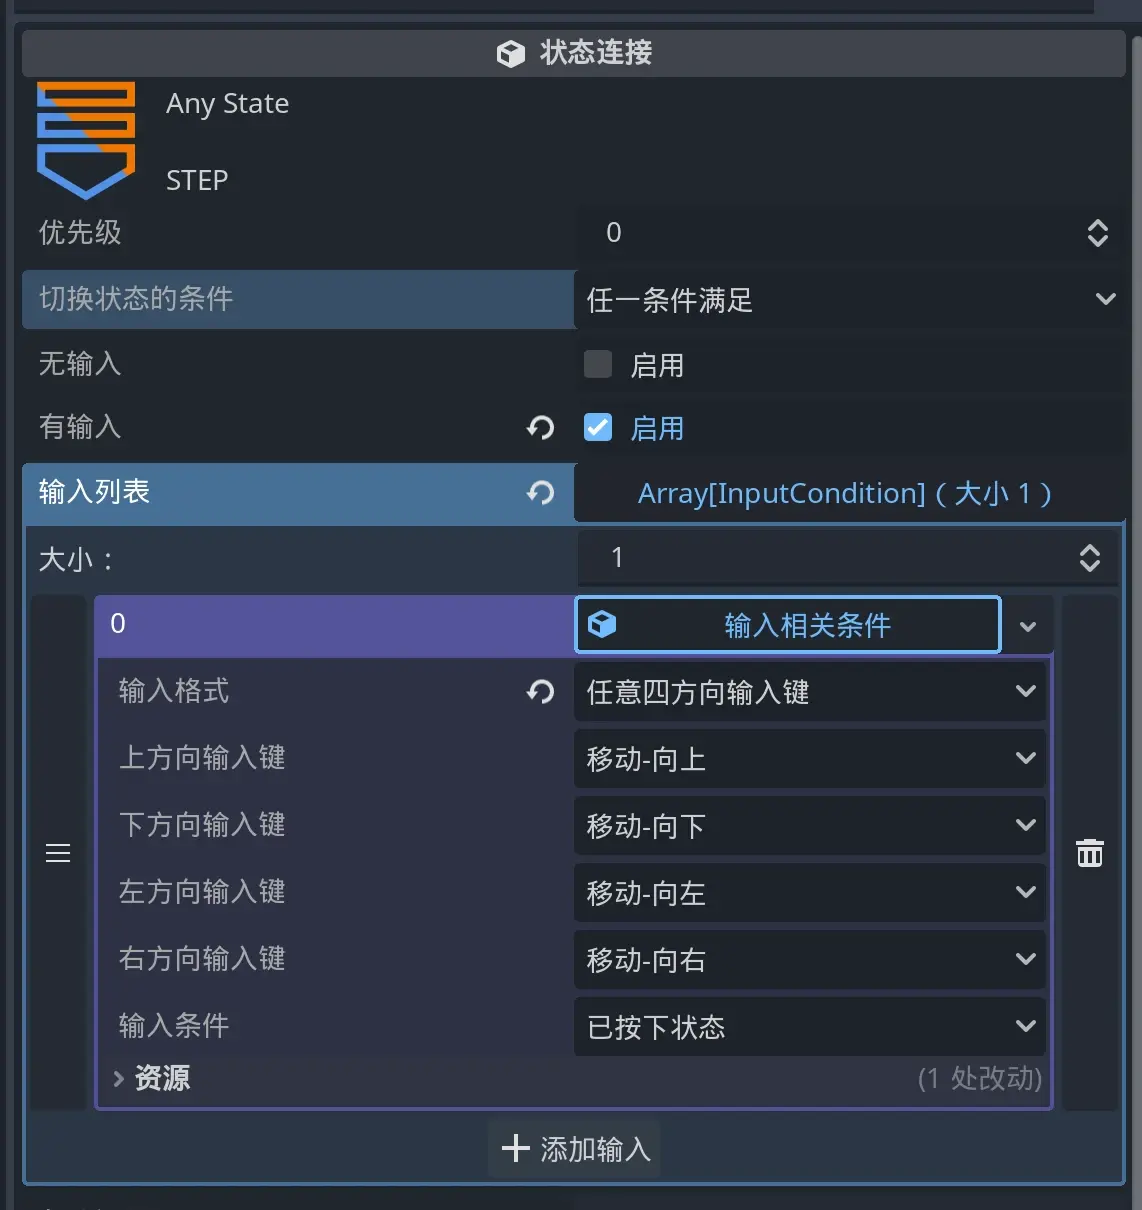
It should look roughly like this. If there are any mistakes or unclear parts, please feel free to point them out, and I will correct them.
And thank you to everyone who read this far.