Here, we introduce how to create a standalone platform for the player to jump onto and stand on, assuming that you already have a level scene and a player character.
- Create a new game object named “platform” using the “Empty” template. In the “Wall Collision Layer” settings, check Layer 1 and uncheck all masks.

Selecting the correct wall collision layer is crucial; incorrect settings may cause unpredictable errors in player-platform interactions.
- On the right panel, locate the node, expand it, click the “Groups” function, create a new group named “platform,” set it as a global group, and add this object to the group.


Grouping is also important; platforms without groups will prevent the player character from correctly detecting contact states later.
- Delete other nodes under the game object scene, leaving only a Sprite2D node and a CollisionShape2D node.

Ignore the triangular warning icon in the scene.
- Place your desired platform texture into the Sprite2D’s texture field. If you want to use a tile from a tilemap, you can select AtlasTexture in the texture field, drag in the tilemap tile, and click “Edit Region” under the Region section.
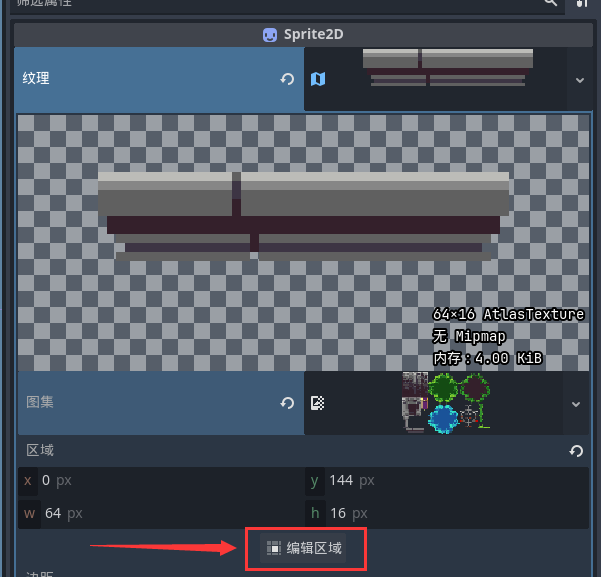
You can choose from various snap modes and select your desired platform pattern.

- Select an appropriate shape for CollisionShape2D to match your platform texture.

- Check whether the player character’s collision mask includes the platform object’s collision layer.
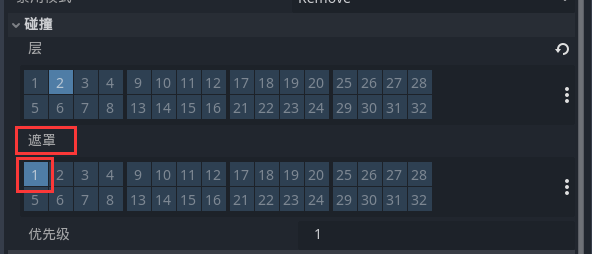
- Configure the player character’s script: In the transition condition from falling to default state, select “Wall Contact” as the condition, set the contact direction to “Bottom,” and choose “All Groups” for the object group.

- Instantiate the platform into the game level scene. A standalone platform object is now complete.

Next are some possible extensions:
One-way platform: Under the “platform” object, click the CollisionShape2D node. In the Inspector on the right, enable “One-Way Collision.” By default, the player can pass upward through the platform from below and land on top of it.
