This manual explains how to operate the Visual Script editor.
Visual Script Editor
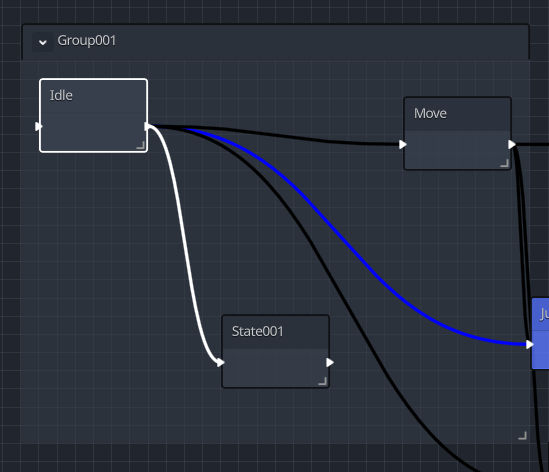
Terminology
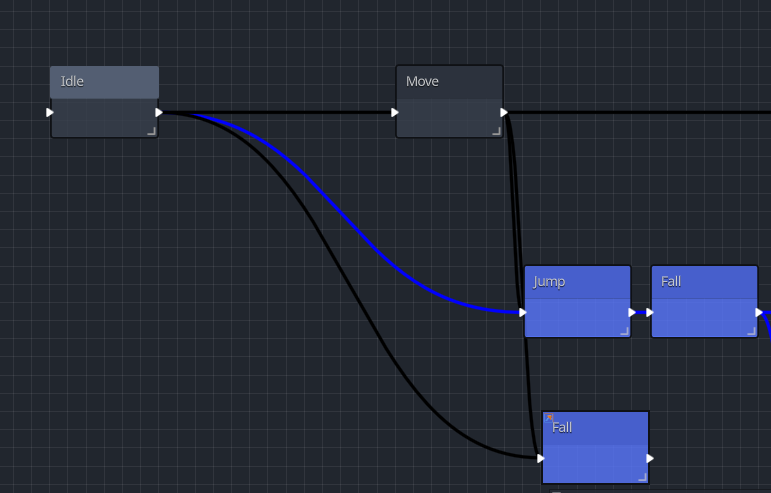
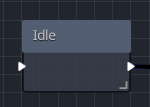
- The rectangular boxes are called states. A state represents the current status of an object. Each state has one animation assigned to it and contains actions that define what it does.
- The lines connecting the states are called links. Links define the conditions for transitioning between states.
Customizing States and Links
You can change the color, title, and notes for each state or link in the Inspector under VisualScriptNode.
Types of States
1. Initial State
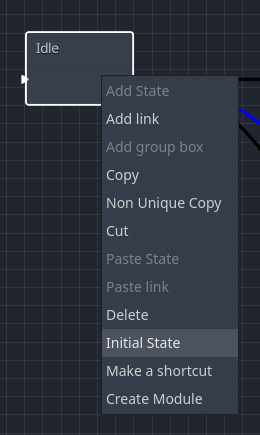
The brighter-colored state is the initial state. The object starts from this state when its behavior begins.
You can set the initial state by right-clicking a state and selecting “Set as Initial State.”
2. Shortcut State
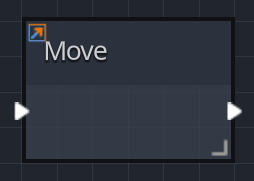
States with an  icon are shortcut states. They are treated as references to the original state with the same name.
To create a shortcut, right-click a state and choose
Create Shortcut, or press
Ctrl + Shift + D while the state is selected.
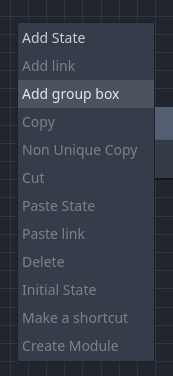
Creating Group Boxes
Right-click on an empty space and select Add Group Box to insert a group box.
Group boxes act like folders, allowing you to organize, move, and collapse states and links for better readability.
State Inspector
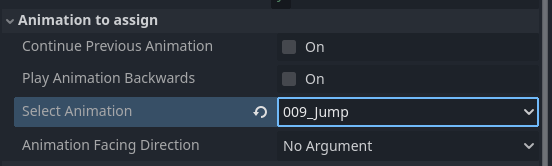
Animation Settings
This section allows you to configure the animation that plays in the current state.
- Continue Previous Animation: Continues the animation from the previous state.
- Play Animation Backwards: Plays the specified animation in reverse, from end to start.
- Select Animation: Specifies the animation to be played in this state. Only animations preloaded in the GameObject node can be selected.
- Animation Facing Direction: Specifies the direction the animation faces. If left unspecified, it will face the direction the object is currently moving.
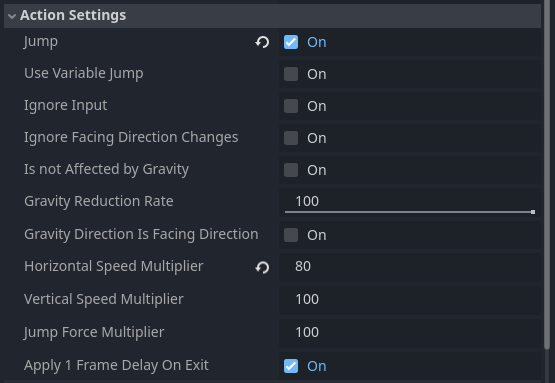
Action Settings
This section allows configuration of movement and physical behavior.
- Jump: Executes a jump. The jump strength can be configured in
MoveAndJumpSettings.
- Use Variable Jump: Allows jump height to vary depending on how long the jump button is held. A dedicated variable jump button must be set in
MoveAndJumpSettings.
- Ignore Input: Disables movement input during this state.
- Is Not Affected by Gravity: Partially or fully ignores gravity during this state. Set to 100% to ignore inertia entirely.
- Gravity Direction Is Facing Direction: Alters gravity direction based on the object’s facing direction. Typically used for downward animations.
- Speed Multiplier (Horizontal/Vertical): Changes movement speed by a specified percentage during this state.
- Apply 1 Frame Delay on Exit: Adds a one-frame delay before exiting the state. This prevents instant transitions between multiple states. Disabling this may be useful for purely computational states.
Execution Action Settings
This section covers shared mechanics for managing execution actions. Individual actions are not explained here.
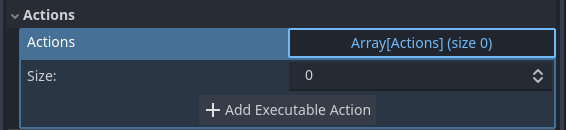
Adding Actions
Expand the action array and press Add Execution Action to insert a new action.
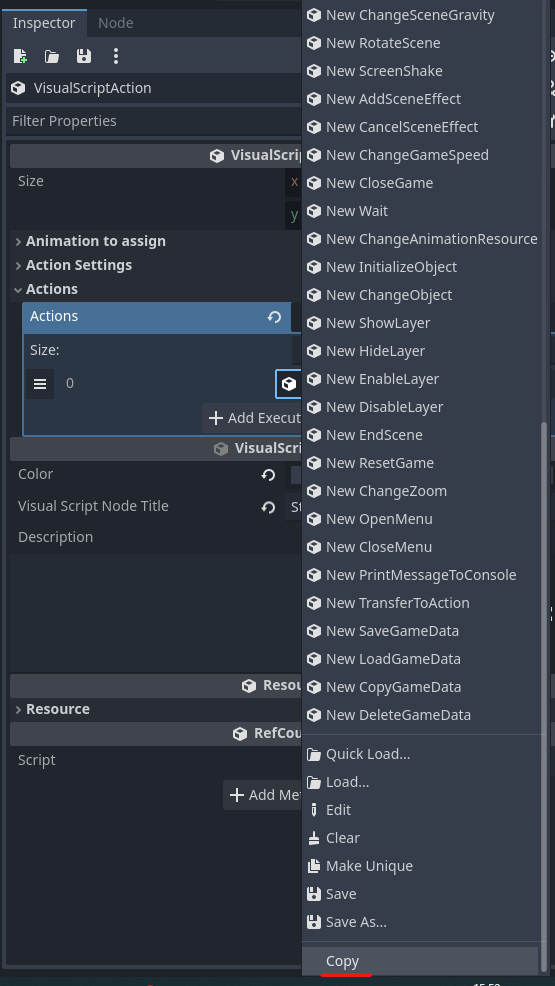
Copying Actions
Right-click on an added action to copy it.
Note: The copy option appears far down in the menu.
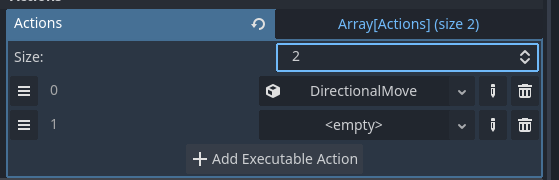
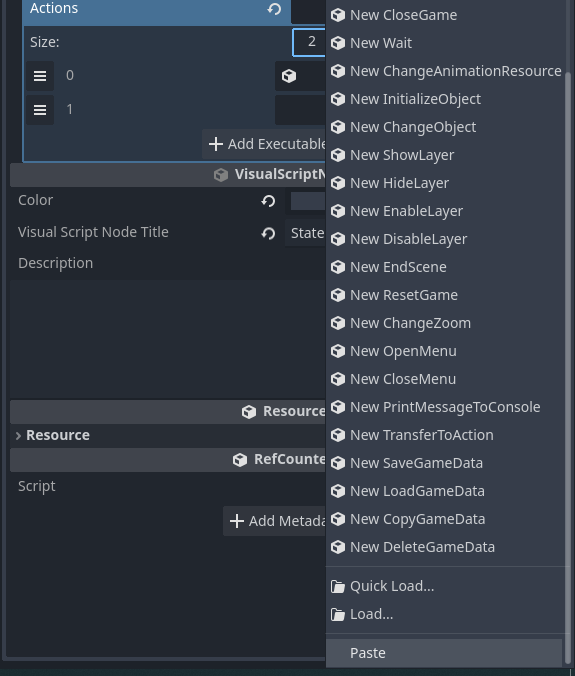
Pasting Actions
Increase the Size value to create empty action slots.
Right-click on an empty slot and select Paste to insert the copied action.
Making Actions Unique
Pasted actions are non-unique, meaning they are linked. Editing one will also update the other.
Right-click one of the actions and choose Make Unique to break this link.
Note: This option is also far down in the menu.
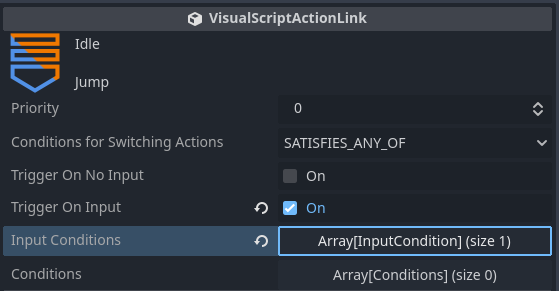
Link Inspector
Priority
When multiple transitions are possible at the same time, the one with the higher priority value is selected.
Conditions for Switching Actions
- SATISFY_ALL: The transition occurs only when both the “Input Conditions” and “Other Conditions” are met.
- SATISFY_ANY_OF: The transition occurs if either the “Input Conditions” or the “Other Conditions” are met.
- FINISHED_ANIMATION: Automatically transitions when the animation in the previous state finishes playing.
- UNCONDITIONAL: Immediately transitions when all actions in the previous state are completed, regardless of any conditions.
Trigger On No Input
This condition is met when no input is being pressed (i.e., all input is in the neutral state).
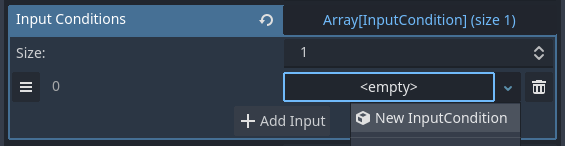
Trigger On Input
This condition is met when specific inputs are detected.
Select the <empty> array and click Add Input Condition to specify inputs.
Only actions registered in the project’s InputMap can be selected.
- Registered Key: Allows assigning a specific key. You can choose to trigger the transition on press, hold, release, or release hold.
- Four Any Input Key: Useful for movement transitions. Assigns keys for up, down, left, and right independently. These are independent of MoveAndJumpSettings, and must be configured separately.
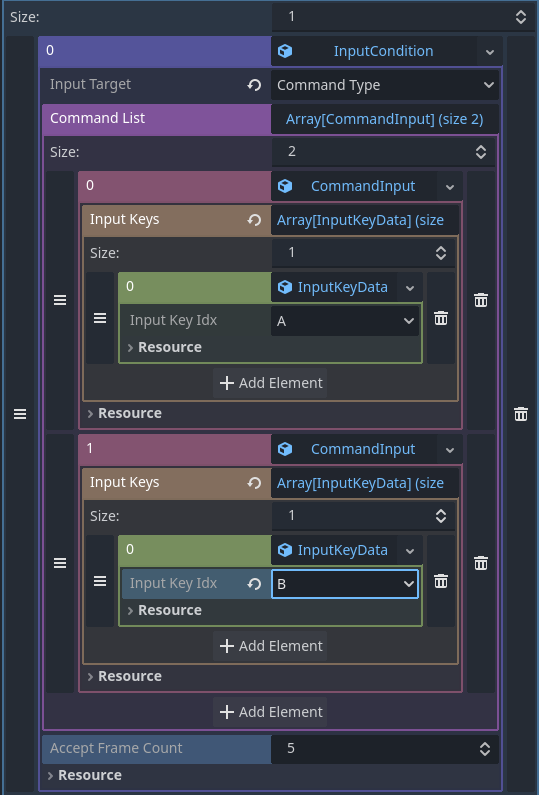
- Command Type: Supports fighting game-style command sequences. The character transitions when inputs like CommandInput0 → CommandInput1 are entered within the specified number of frames (AcceptFrameCount).
In the image example below, pressing A followed by B within 5 frames satisfies the condition.
Conditions (Other Conditions)
These work similarly to Execution Actions when it comes to adding, copying, and pasting conditions.
Logic Between Conditions (AND / OR)
- AND: This condition must be met in addition to the previous condition.
- OR: This condition is met if either this or the previous one is satisfied.
- Note: Logical operators only apply from the second condition onward.
Combining Multiple Conditions
The logical evaluation is based only on the connection to the previous condition.
For example, if you specify:
A AND B OR C AND D
It will be interpreted as:
(((A AND B) OR C) AND D)
So the condition is satisfied if:
- A and B and D are all true, or
- C and D are both true.