ステップ 2: HP バーの作成
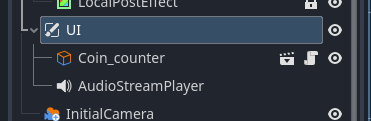
gamesceneタブを開き、UIを選択します。
- 新しいノードを追加します:
ImageGauge。
常に表示され、カメラのスクロールの影響を受けない UI 要素は、すべてUIの下に配置してください。
ImageGaugeのプロパティを以下のように設定します:
Current Value をsampleplayer.hpに、Max Value をsampleplayer.max_hpに設定します。
Object_Sampleplayer.tscnはsampleobjectフォルダにあります。
- 次に、
ImageGauge内のTextureProgressBarのプロパティを設定します。
Nine Patch Stretch を有効にし、Left Limit と Right Limit を10pxに設定します。
これにより、バーの比率を崩さずにサイズ変更が可能になります。
ImageGaugeのテクスチャを設定します。
templates > objects > ui > interface > variation_02_Ornateから画像を使用します:


- Under:
I_002_hp_horizontal_02.png - Progress:
I_002_hp_horizontal_03.png

ImageGaugeのサイズを調整します。
青枠で囲まれた領域が UI 表示領域です。ゲージをお好みのサイズに拡大縮小してください。
- ゲームをテストします。
正しく設定されていれば、HP は白いバーとして表示され、ゾンビに攻撃されると減少します。 - 次に、枠を追加します。
ImageGaugeの下に新しいノードを追加します:NinePatchRect。
このノードは、Nine Patch 設定を使用して、比率を維持しながら伸縮する矩形を作成します。
NinePatchRectのテクスチャをI_002_hp_horizontal_01.pngに設定し、Edit Regionボタンをクリックします。
- Nine Patch エディタが開きます。
画像に示されているように、黒と白のバー(実線の白い線ではない部分)を調整します。
- サイズを変更し、HP バーの上に配置します。
- HP バーの完成です!


注意事項
バーの種類
ImageGauge の Fill Mode を変更することで、垂直や円形のゲージなど、さまざまな種類のバーを作成できます。
Tint プロパティを使用して、バーの色を変更することも可能です。
Nine Patch について
Nine Patch は、画像を 9 つの領域に分割し、歪みを避けるために比例して伸縮させる技術です。
この方法は、メッセージウィンドウなどの作成にも役立ちます。
![]() 次の講座: パート 5
次の講座: パート 5